Kitchen Island remodel
We recently decided to remodel our kitchen island. Originally it was in an L shape and we wanted it to be just a long straight island. We also wanted to paint it and put on a new countertop. I thought I would go ahead and snap some pictures of the progress.
Disclaimer: This article is not financial advice, or instructions on how you should do anything, it is for entertainment purposes only. This site also uses affiliate links. This means I may make a small amount of money at no cost to you if you buy something after clicking a link on this site.
Starting out
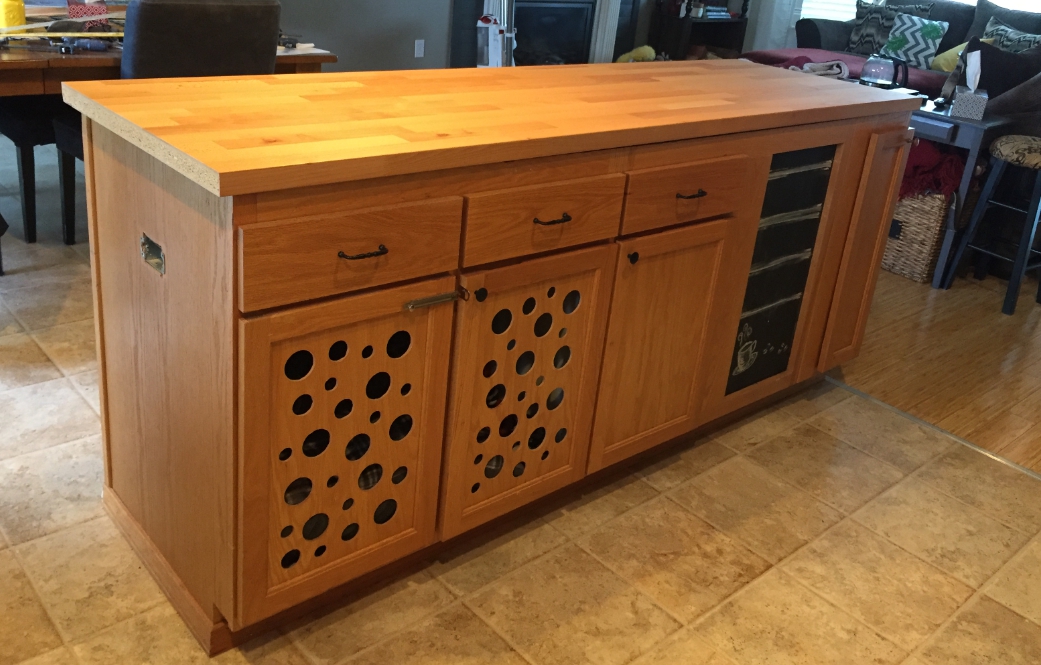
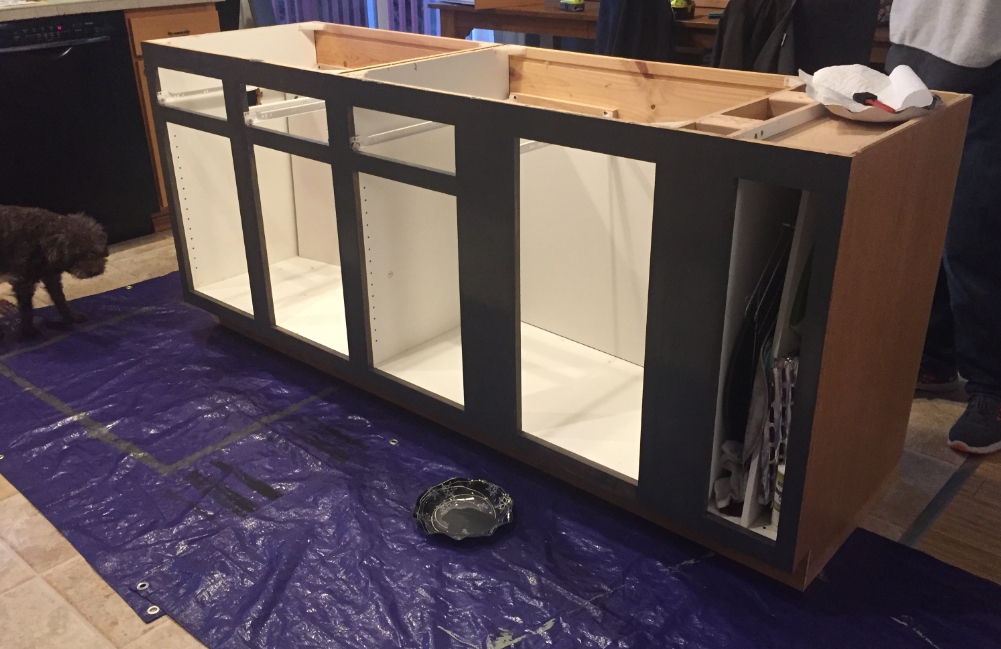
So we had rearranged the existing cabinets to line them up straight. We also removed the existing tile countertop that was on the top. While we wanted to go with a granite countertop, we are holding off on that until we are ready to do all our countertops at once. For now we are going to use a wood countertop we found at Ikea that we liked.
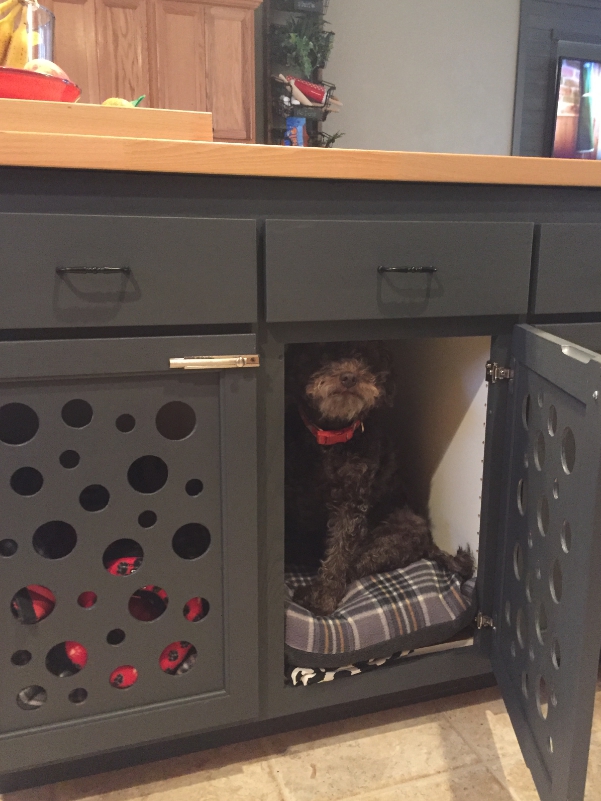
Also you will notice the holes in the cabinet doors below. We did this a while ago when our dog was a puppy. This is where her dog bed is and she sleeps once in a while. She was wondering what I am doing to her house.
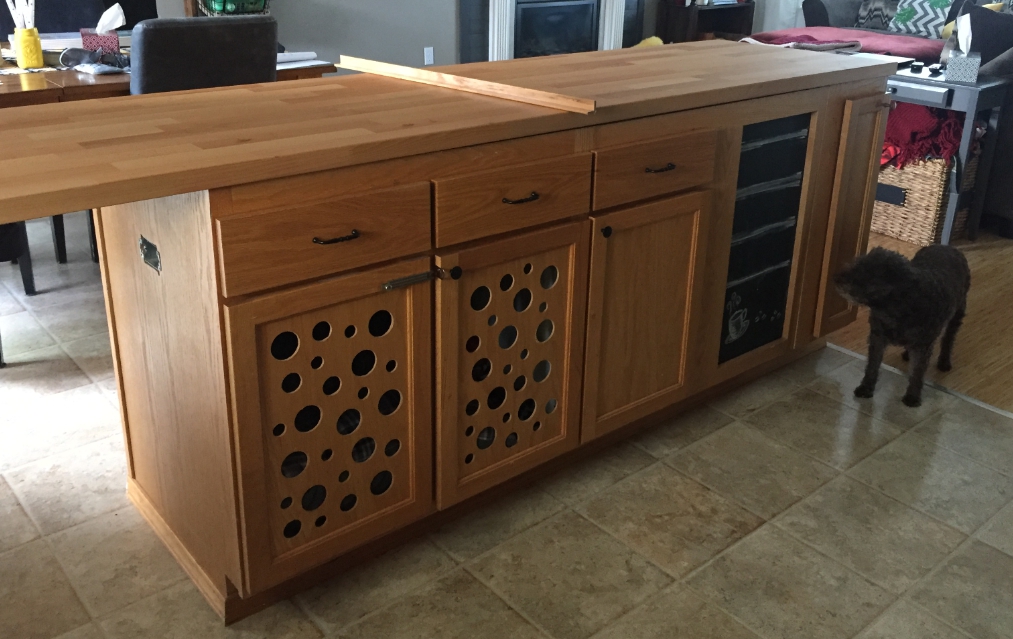
It was really easy to cut the new countertop with my a skillsaw. The cut came out nice and clean. The Ikea countertop also has an end piece that we will glue on later, so that the cut end will match the other side.
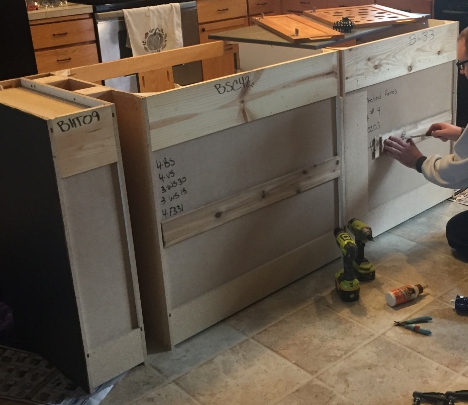
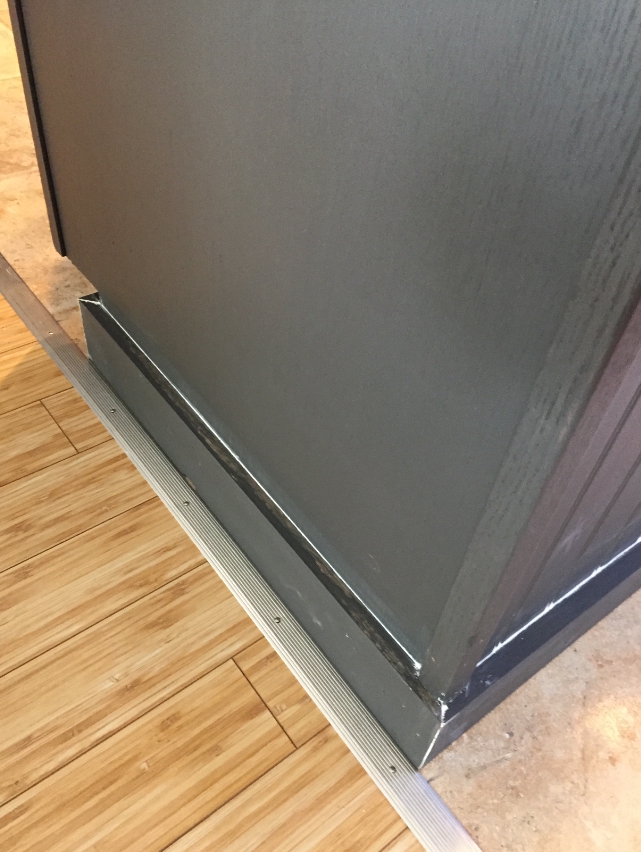
Here is the back of the island. You can see we needed a longer panel piece for the back after doing the rearrangement of the cabinets. This was fine as we decided wanted to do wainscot on the back as I have always liked the look of it.
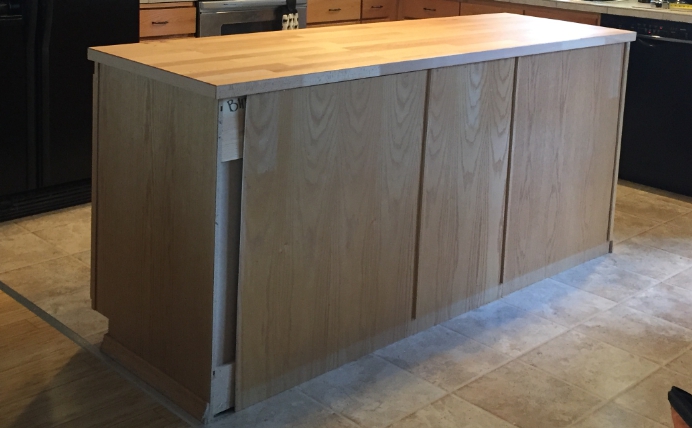
So we started by removing the back panel, and also the countertop as it had not been glued down yet. We also removed the doors on the front in preparation of the paint job.

Picking the wainscot
Here we were deciding on a backing. We deiced to go with the narrow lines like the one on the right.

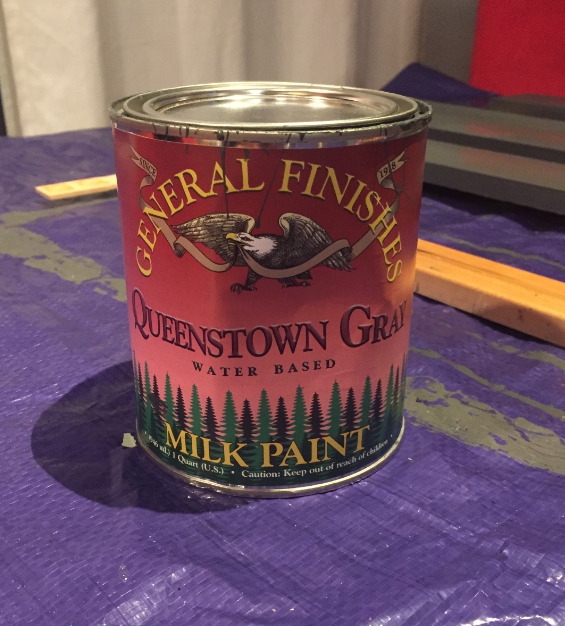
We also got started on the painting while still working on the back. For the paint I went with General Finishes Queenstown Gray Milk Paint as I have used it before. I had to order it from Amazon, but it was worth it as this stuff is amazing and really coats and sticks well to cabinets. Here is a LINK if you want to check it out and read the reviews and see other peoples pictures, last I checked it still had a 5 star rating.
Here is the island with a coat of paint on the front. (And a sad looking dog who is wondering where her dog bed went.)
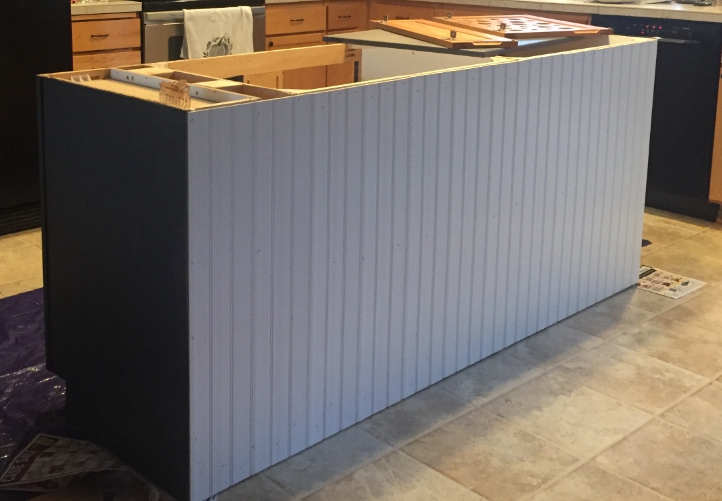
Next we added a couple more boards to the back to make it easier to attach the wainscot.
Wainscot is now attached and ready for some paint.
Doors and back are painted with the first coat.

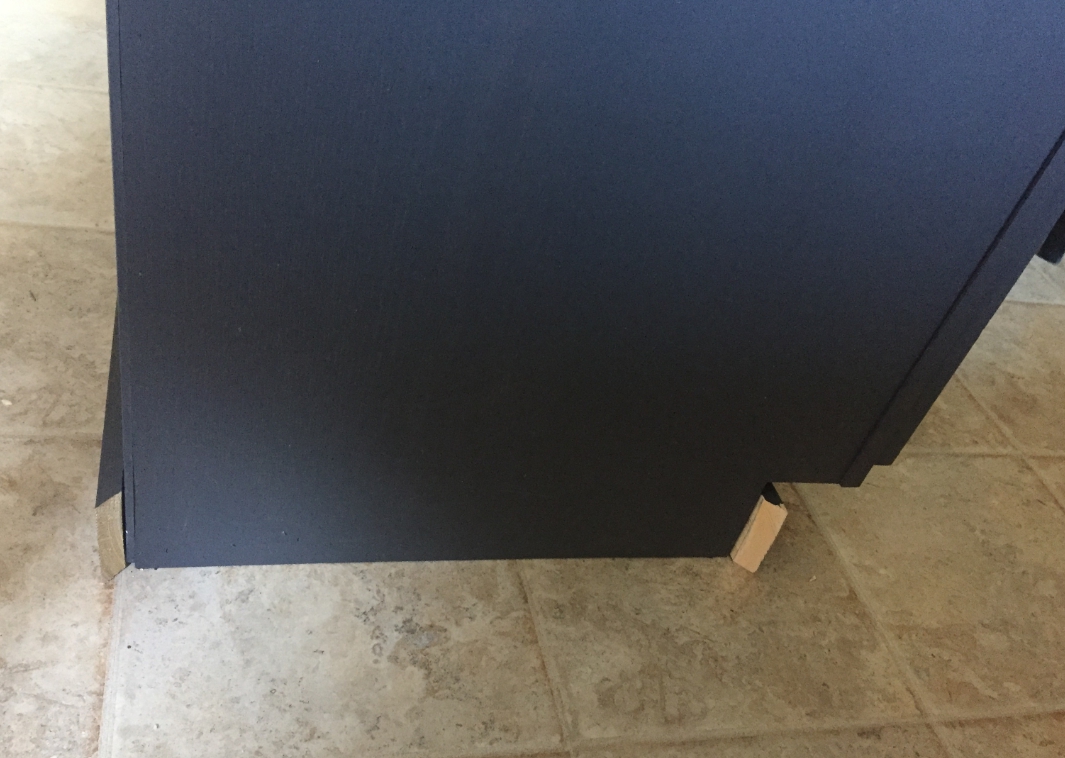
Here it is at this stage with no molding on the bottom.
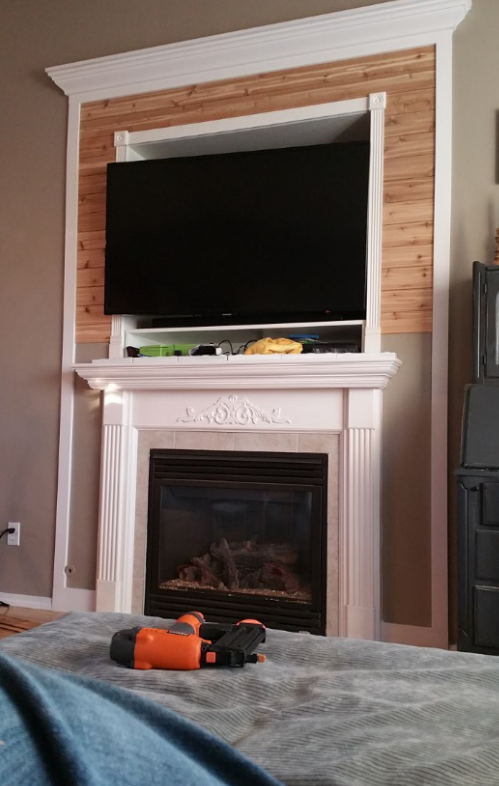
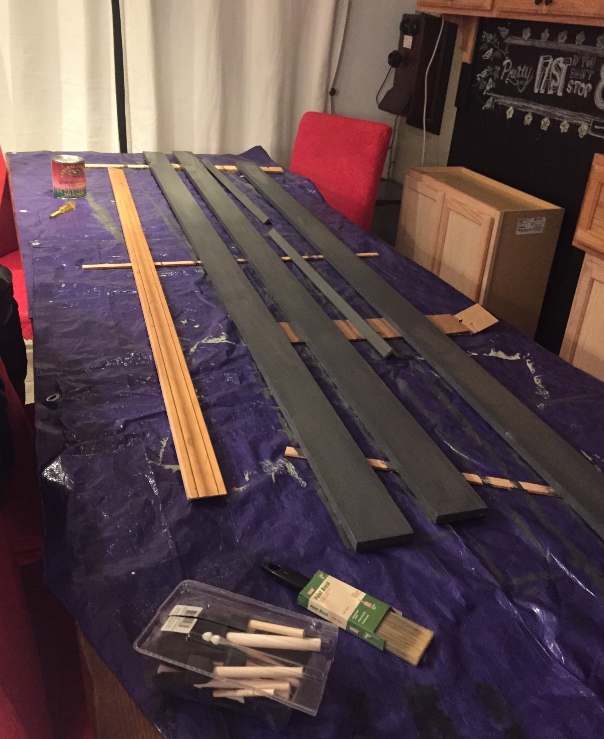
I decided to go with something a little chunkier for the molding then we had on the island earlier. We went ahead and painted it before putting it on the island. In the background you can see the cabinets we purchased for the wall buffet.
I just nailed it with our brad nail gun.
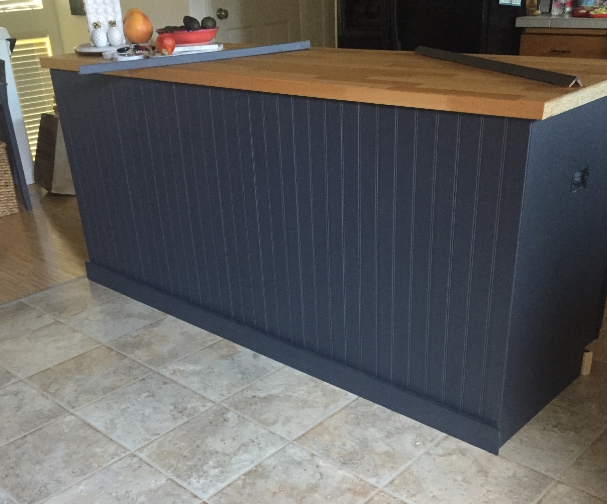
Here is a better overview at this point.
Once the molding was attached I needed to go over and fill the gaps with some paintable caulk.
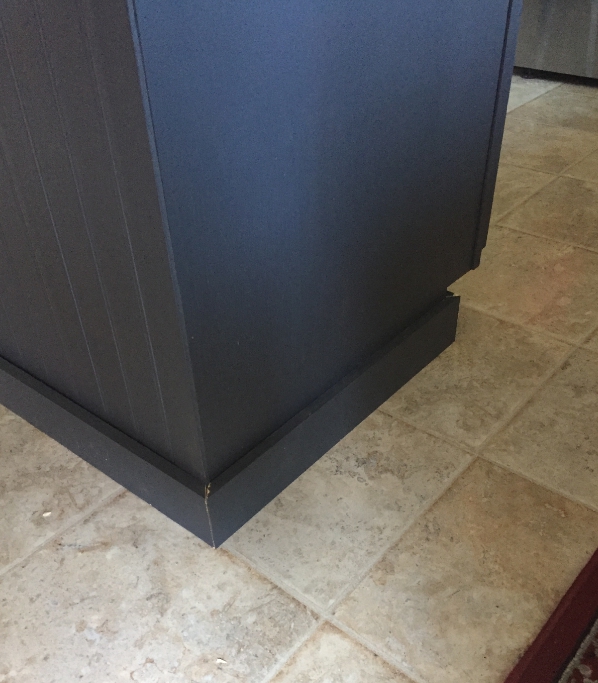
Here you can see the I just filled in any cracks before the final coat of paint.
Completed
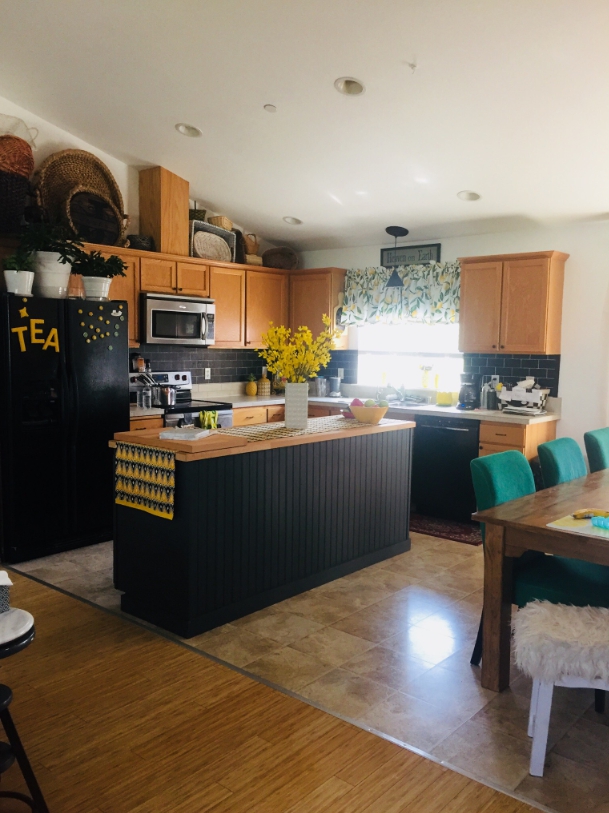
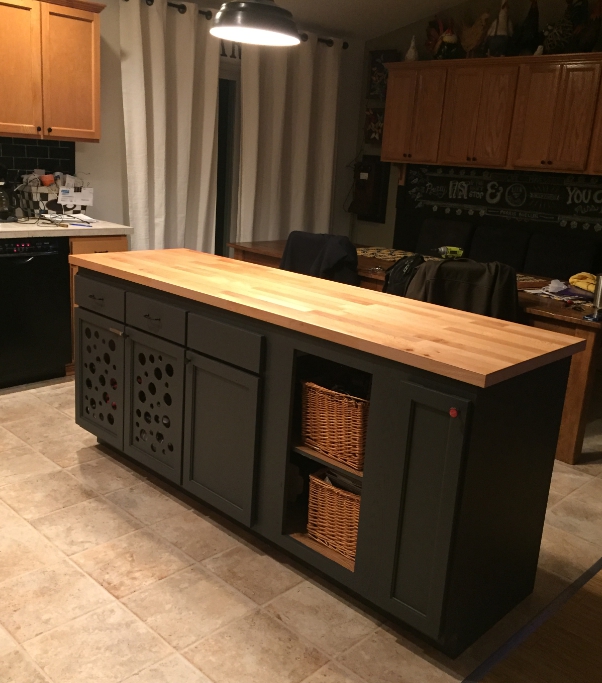
Here is a final overview picture of it completed in the room.
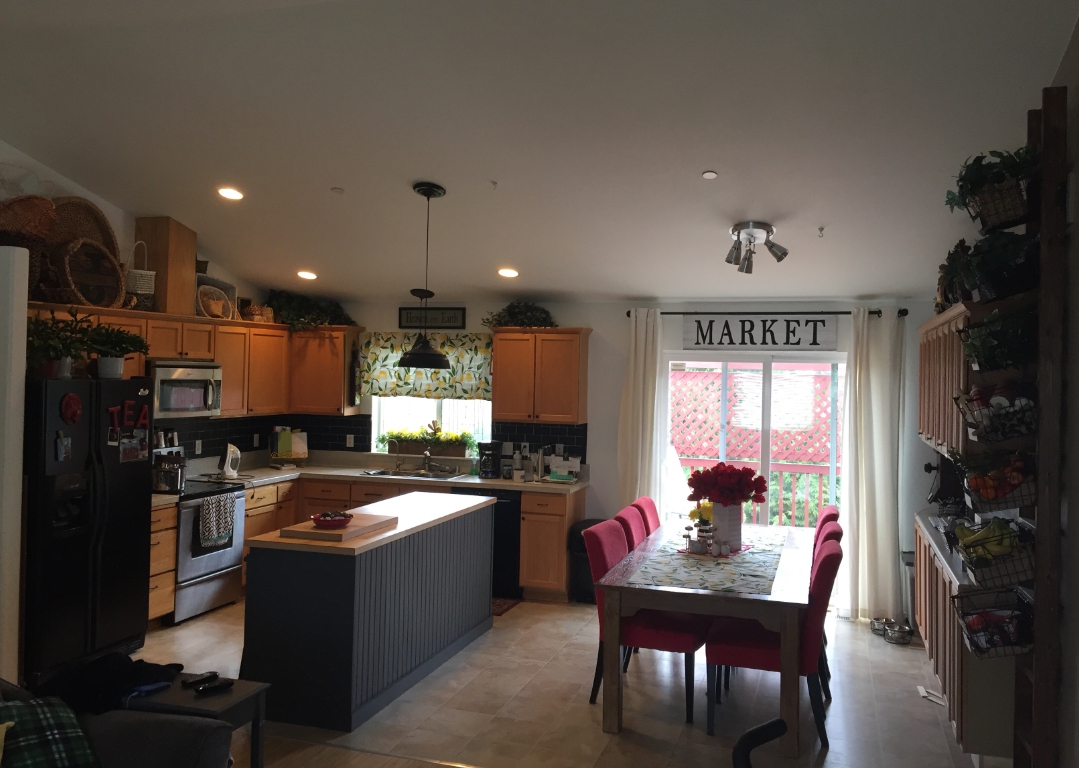
Here is another picture with some yellow accents I added along with some green chair covers I dyed.
And just so you know, someone was really happy to have her little home back 🙂
Thanks for stopping by and checking out the website! Have a great day!