TrafficMaster Ceramica Cool Grey vinyl tile bathroom remodel
I just wanted to do a post of our bathroom remodel with us installing some TrafficMaster Ceramica Cool Grey self stick vinyl tiles, and wainscot on one of the walls. Due to how many pictures were in this post, I did split it into a few pages to help with load time.
After finding our linoleum had a little swelling of the floor in the corner due to some water spillage from the kids in the tub. We decided to go ahead and try installing some TrafficMaster Ceramica Cool Grey self stick tiles. We figured this would be a good time as we would be repairing the floor anyways.
Disclaimer: This article is for entertainment purposes only. It is not instructions on how you should do anything. Please follow any manufacturer instructions or hire a professional if you do not know what you are doing. This site also uses affiliate links. This means I may make a small amount of money at no cost to you if you buy something after clicking a link on this site.
Getting started
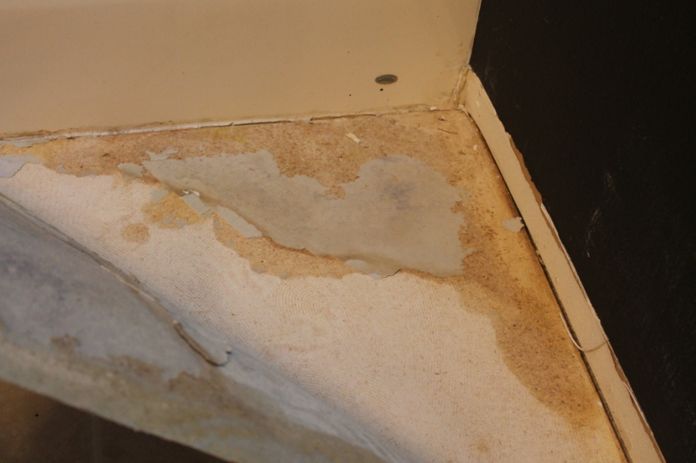
Here is the start of the job, we had noticed some swelling in the floor by the corner of the bathtub. This was due to the caulk deteriorating by the tub and water being spilled over from the tub when the kids take bath’s. I wish I would have re-caulked it before this happened, but it luckily was not very bad yet.
Here you can see the issue as I pulled back the linoleum to take a look. It is hard to show it in the picture, but there was some swelling where the discoloration is.
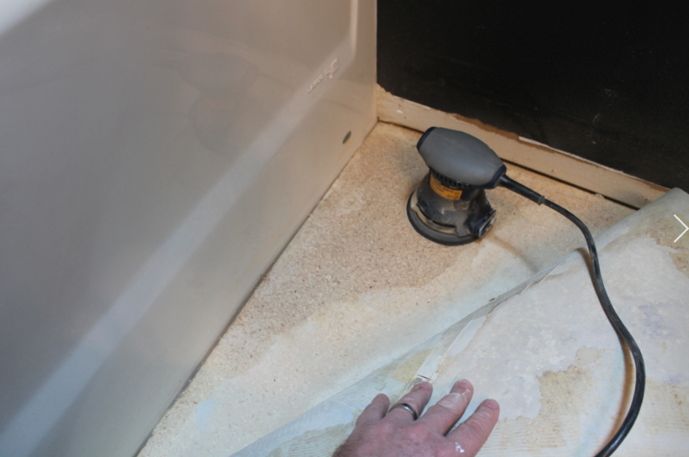
Luckily we caught it pretty quick and it did not cause much damage to the underlayer. We let it dry and I sanded it down to be level again.
Now the plan was to go ahead and use the trafficMaster tiles right over my linoleum. So I needed to glue the original linoleum back down. I went ahead and used a multi purpose adhesive like this HERE to glue it, but the brand I used was called stick n stay from the local hardware store. I put down a thin layer with a trowel.
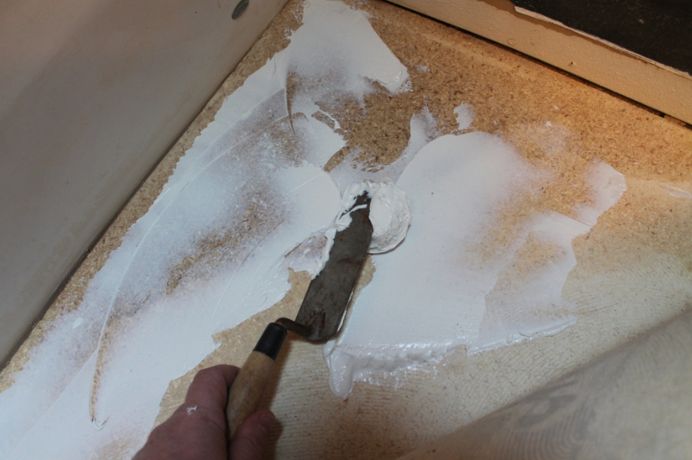
Then I ran some groves in it with an old comb I found. It would have been better to use a tile trowel like THIS that is designed for this type of job, but I did not have one. But looked good enough to me once I was done with the comb.
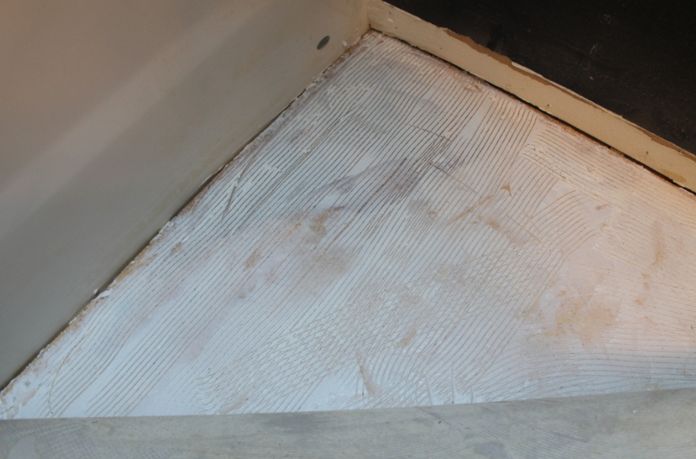
I did not want to rent a 100lb roller for this job, so I went ahead and purchased a small cheap roller from amazon. This is the one I got HERE. It was really cheap and worked out surprisingly well. Especially for such a small room. If I was doing a large room I might have rented the big roller. So basically in the picture below I used the hand roller to roll it back down with a lot of pressure, then I sat some weight on it and left it for a day to adhere.
Prepping the floor
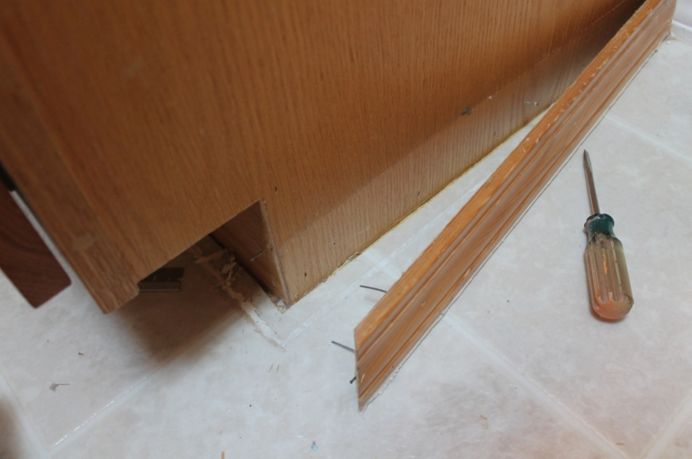
The next day I started the process of removing all the molding in the room along the walls and cabinet.
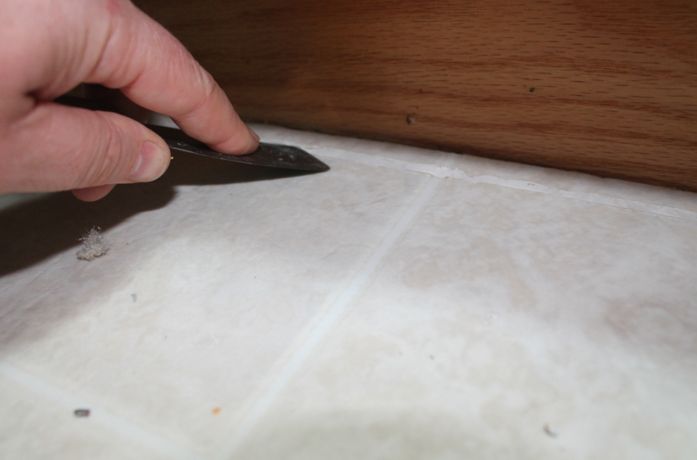
I used a razor blade and a putty knife to remove all the caulking I could find along the edges as well. The goal was to just make the floor level.
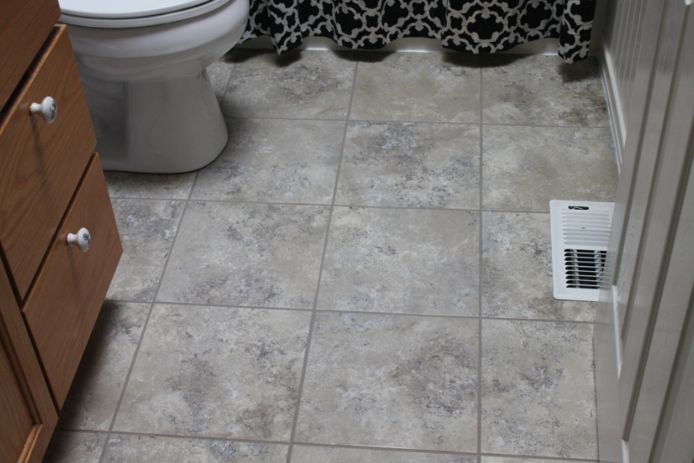
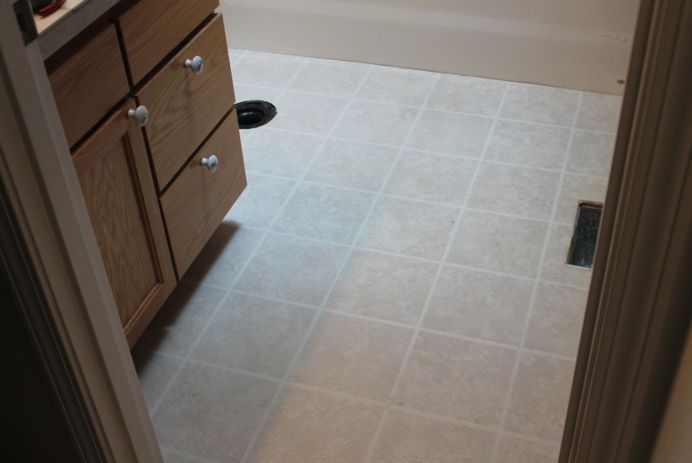
Then I wiped it down with this cleaner HERE to hopefully help the tiles stick better. Here is what it looked like when I was ready to get started with the new tiles. I also removed the toilet in case you were wondering about the hole in the floor :-). The glued down corner looked great. I could have probably just added caulk and been done with it, but we wanted to install the TrafficMaster stick-on vinyl tiles.
Now for the fun stuff! Starting the new floor.
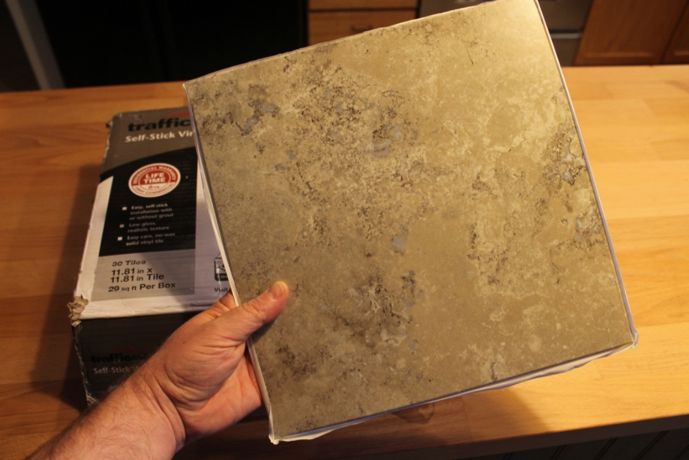
We decided to go with TrafficMaster Ceramica Cool Grey tiles as we liked the pattern and also they had a nice beveled edge. These are Model: 40516C SKU: 1001 553 461 . The can be installed with or without a grout, but we thought the beveled edge would look really nice with a dark grey grout.
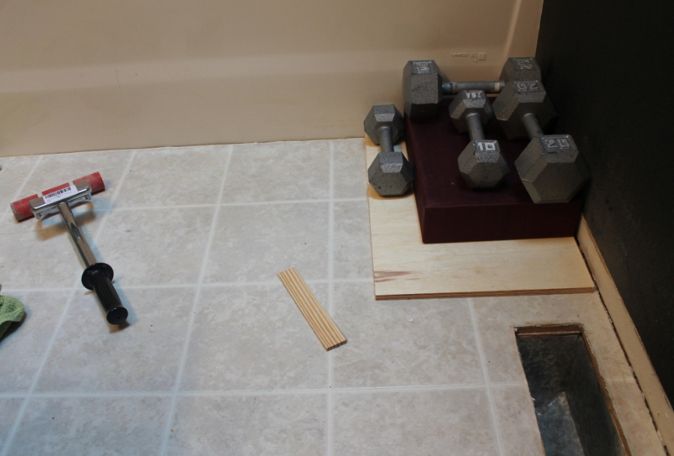
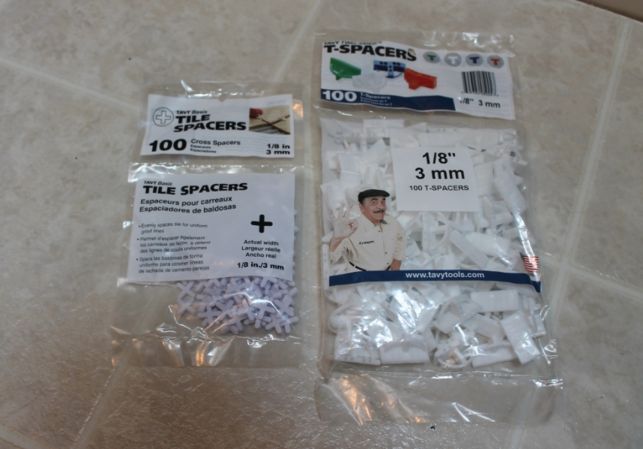
We decided to go with a 1/8 space between the tiles for the grout. This along with the bevel would give us the thickness we wanted. I planned to use some spacers like these HERE and in the picture below to space out the tiles. I like the T-spacers as I could also use them as a straight edge spacer by flipping them over.
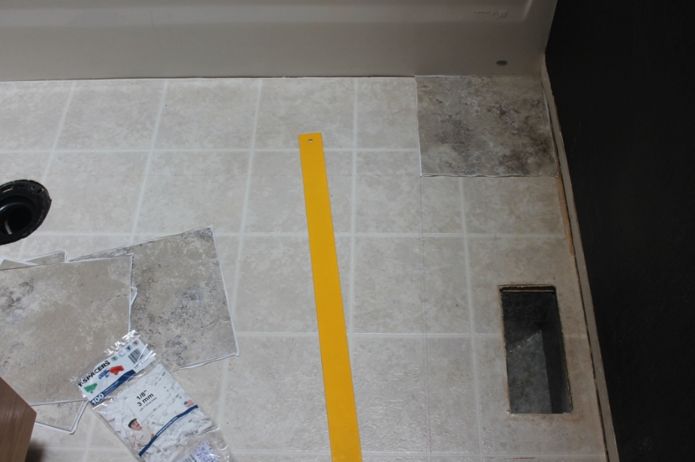
Next I picked a corner to start with. I chose the corner by the bathtub. Then I used a straight edge and made a line I could follow along with to keep the tiles even.
Installing the TrafficMaster Ceramica Cool Grey tiles
NOTE: First I want to mention a mistake I made. I took a sanding block and tried to rough up the original laminate by the bathtub thinking it would allow the tiles to stick better. Then I glanced at the instructions and noticed they said do NOT sand the surface. Oops. Then after putting the tiles down and rolling them, I found they popped back up in the center after a few hours and did not seat very well. They were stiff and seemed to want to retain the slight beveled shape they were originally in. I thought the not sticking could have been due to my sanding the linoleum in error, or my tiles just needed to be pressed down more. I did a quick search online and found some people had had good luck warming up the tiles before applying. So I grabbed my heat gun, and used it to warm up the tiles I had already stuck to the floor by applying heat to the top of the tiles and then rolled them again. This really worked well for me as the tiles got soft and stuck VERY well. (If you do not have a heat gun I think a hair dryer would have also worked. )
After using the heat gun and seeing how well it worked, I ended up using the heat gun for the rest of the installation. I would warm up the rest of tiles on the sticky side before removing the paper from the adhesive to stick them down. (I started by heating the top of the tiles, but after a couple rows switched to heating the bottom only before laying down. This worked better for me and I figured it would have less of a chance of damaging the surface of the tile if I got it to hot.)
I should also mention the back of the tile has arrows to make sure you orient them always in the correct direction. This was really handy.

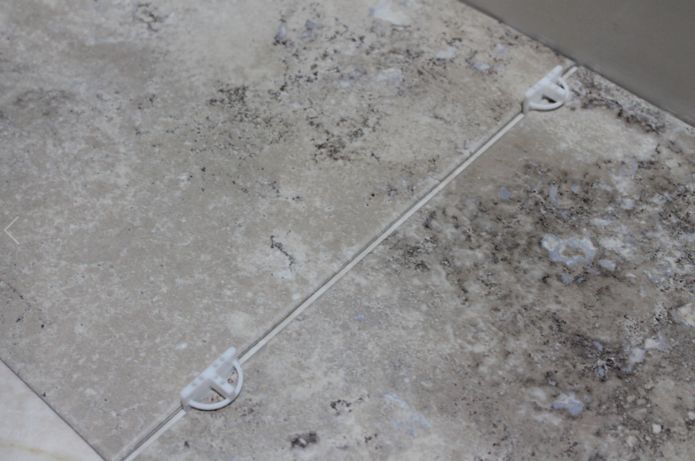
As I applied the first row of tiles up against the bathtub, I used the 1/8 inch spacers in between them to keep them even and leave space for the grout.
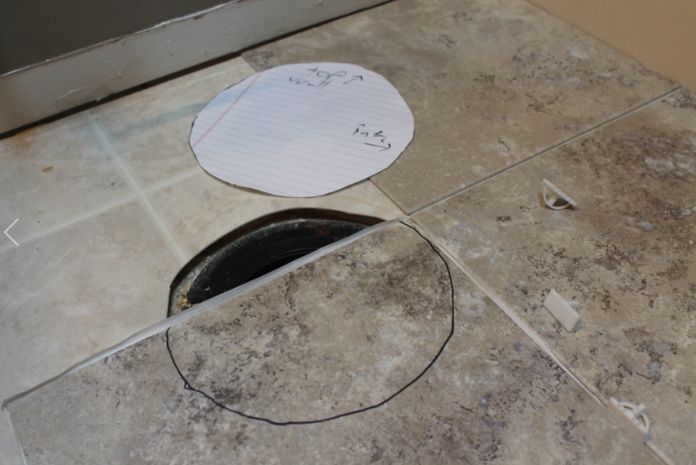
When I got to the end of the row, I just measured the length of tile I needed and cut to fit. It was easy to cut the tile as I just scored it really good with a razor blade on the top and then basically cracked it on the score mark. When I got to the toilet area I made a quick template to mark the tile so I could cut it to fit.
Again here I am heating the top of the tile with the heat gun. Using a heat gun was NOT per the instructions. Later I did switch to heating the bottom side only as I did not want to risk any surface damage. (Although I don’t think it caused any). This worked for me, but of course everyone should follow the instructions. This is just showing how I did mine. I would move the heat gun back and forth not leaving it on a spot to long. This was to avoid any burn marks or damage to the tile.

Continued on next page…
Pages: 1 2