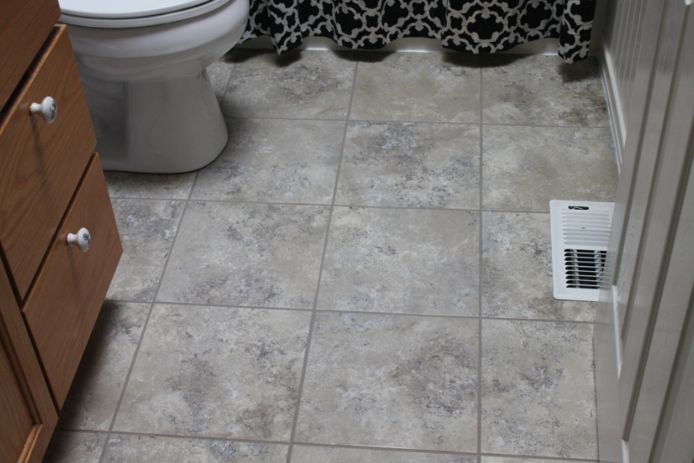
TrafficMaster Ceramica Cool Grey vinyl tile bathroom remodel
Continued..
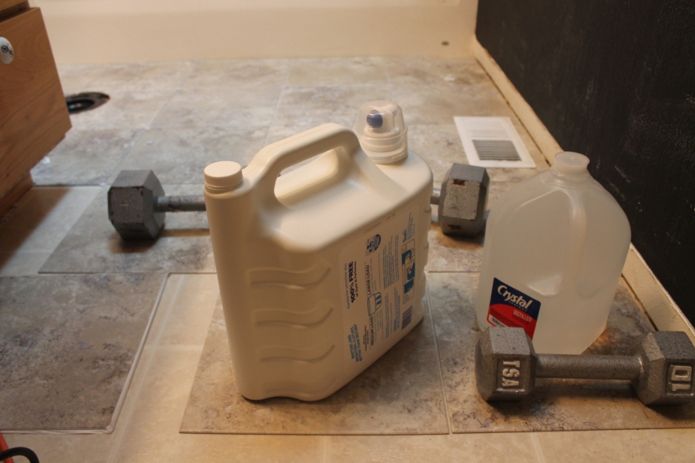
As I moved along installing the self stick tiles, I did put down some weight on the tiles after sticking them down. This was probably overkill, but after having the first few pop up in the center on me, I decided to do it as a precaution. But really after I started warming up the tiles, they really stuck well and I do not think I needed to do this.
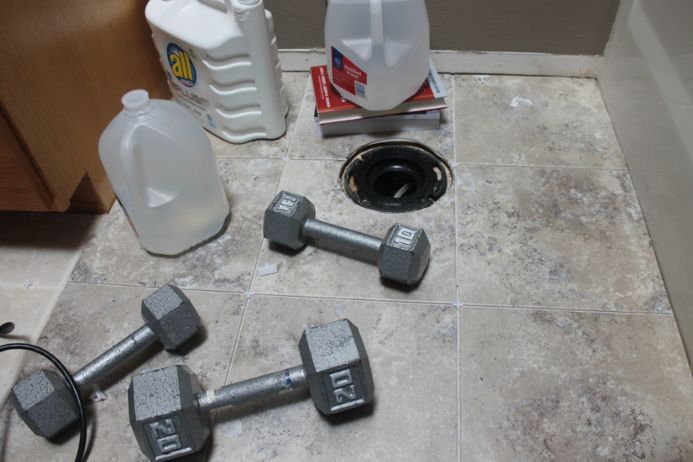
At this point it was just slow and steady progress. I would warm up the tile, peel off paper from sticky backing, lay down tile and then roll it with my roller for a minute or two. Also to note, I did go through a couple razor blades cutting the tiles. So make sure you have extra blades handy.
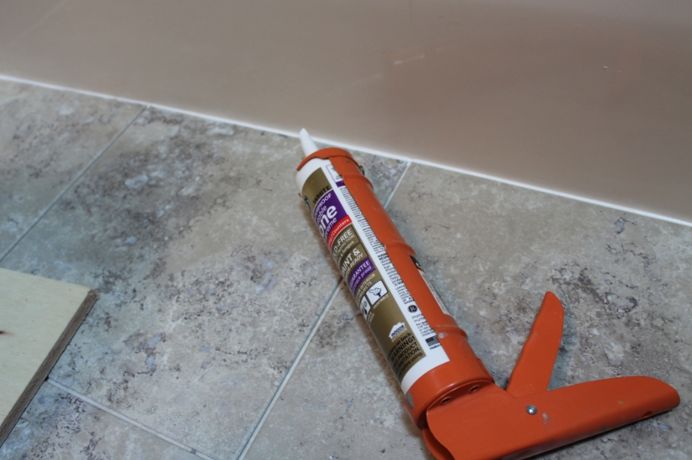
Once I got the tiles all installed, and before grouting, I went ahead and caulked all along the wall edge, and up against the tub. No action shots here as I made a total mess when I did this. I must have gone through a whole roll of paper towels. Here you can see I just did the bathtub side.
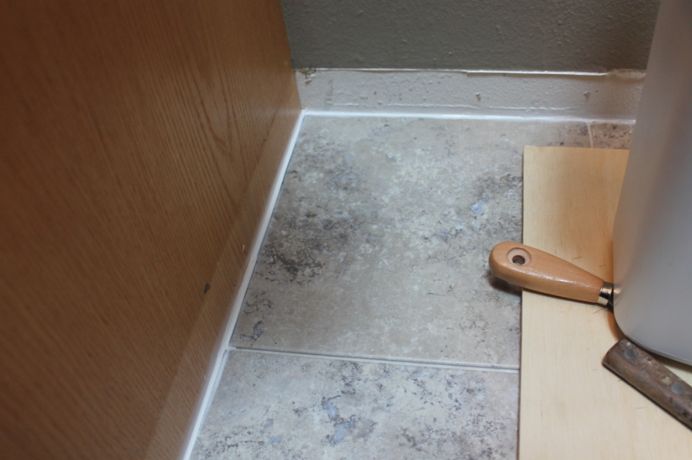
I even caulked the edge up against the counter. The molding will cover this, but I figured with as much water as my kids get on the floor, anything I can do to keep water from getting under the edge is helpful.
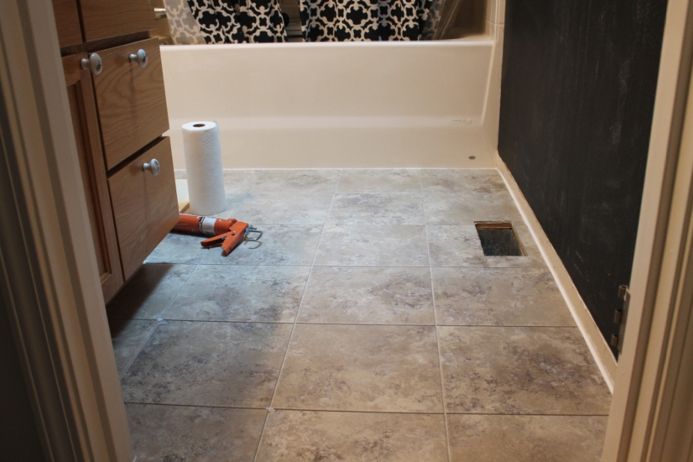
Everything is caulked and now I was ready to start the grout.
Applying the grout
For the grouting I used a premixed grout specifically made for vinyl tile. It was Tec Brand “Vinyl Tile Grout” in Saddle Gray. I purchased it at Home Depot. It was my first time grouting and was pretty easy to do (I even followed the instructions (I think)). It was basically put some on a towel and then smear it into the joint. Then I would wipe it down with a slightly damp sponge. It was easy to get the hang of after a few minutes. For the trowel I bought the soft type like this that was recommended. It has the foam rubber on the bottom. I got mine at Lowes when I got the spacers.
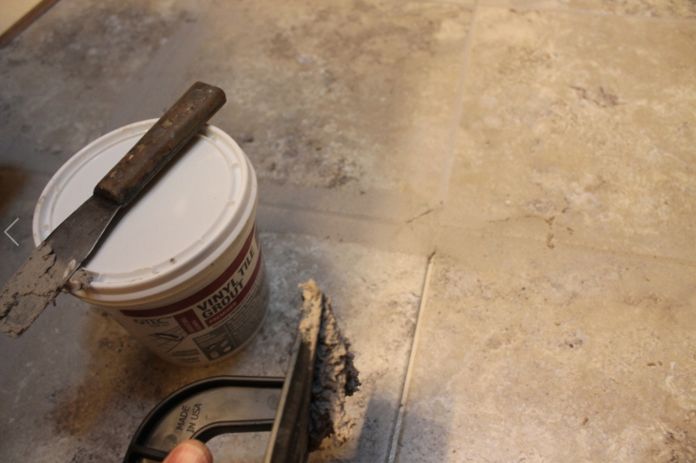
I would work the grout from each side pressing it into the grove.

Wiping it with the sponge and then rinsing the sponge in the bucket I had was a little messy. I had to dump the water and get clean water repeatedly.
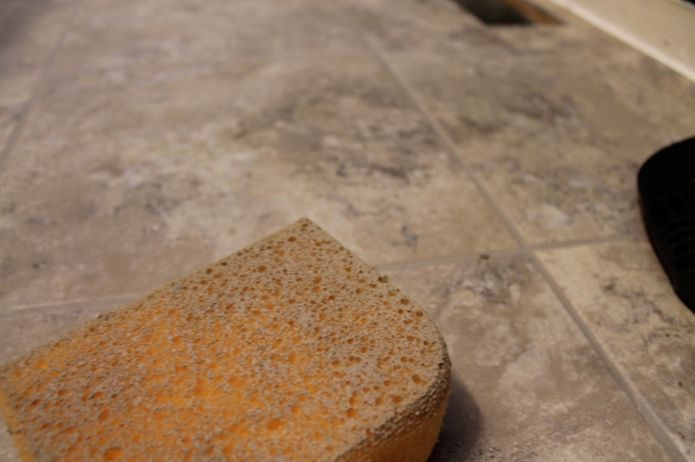
But the job went by fast and I was done before I knew it.

Here is a closeup of how the grout looks after drying.
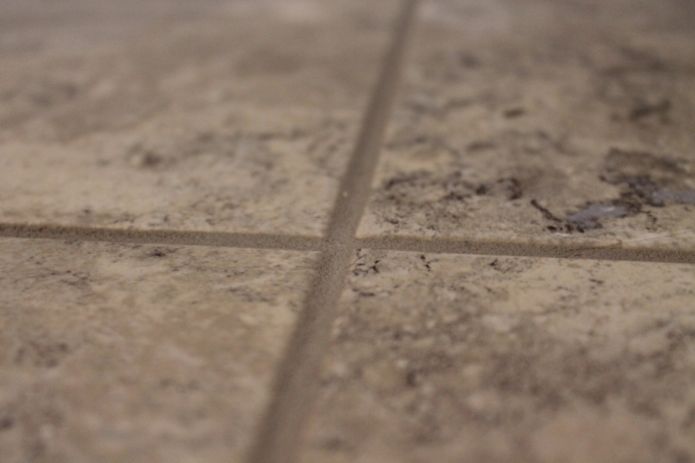
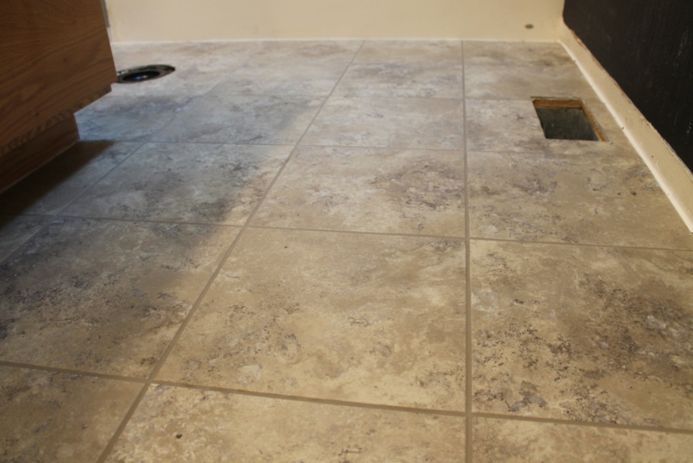
With the grout done, I was feeling satisfied with my first attempt at grouting. I really liked the look of the grout with these TrafficMaster Ceramica Cool Grey tiles.
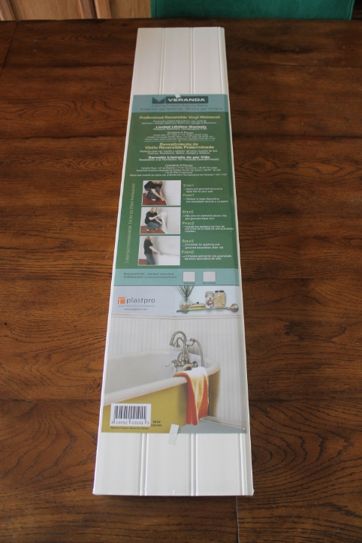
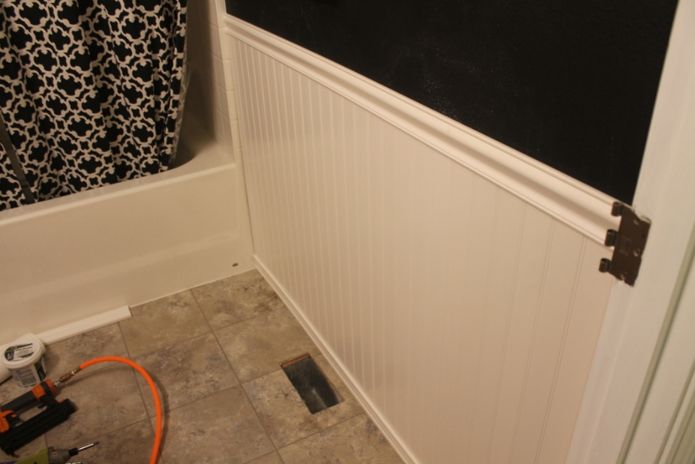
Installing Wainscot
We were about to clean it up and put everything back to normal. But then we decided we wanted to do wainscot on the wall. We decided to go with Veranda Vinyl Wainscot we purchased at Home Depot. They had a matching kit of the molding and panels. Here is a picture of the panels.
It was pretty easy to install, I added the bottom molding. I used my nail gun and some construction adhesive. The molding has a grove to hold the panels.

Then we did a rough mock up of the panels and I cut the last one to fit. We ended up leaving the panel like this with the painters tape and put it all up at once.

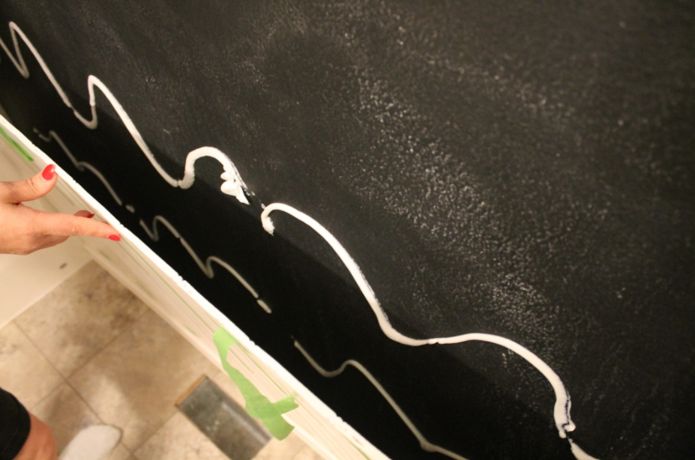
Basically we added some adhesive to the wall and I also put in a few brad nails with my nail gun.
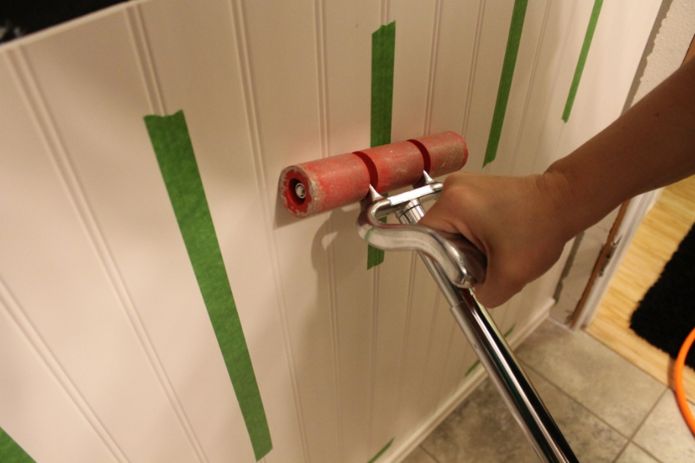
Once it was pushed onto the wall I also used my amazon roller to press it to the wall.
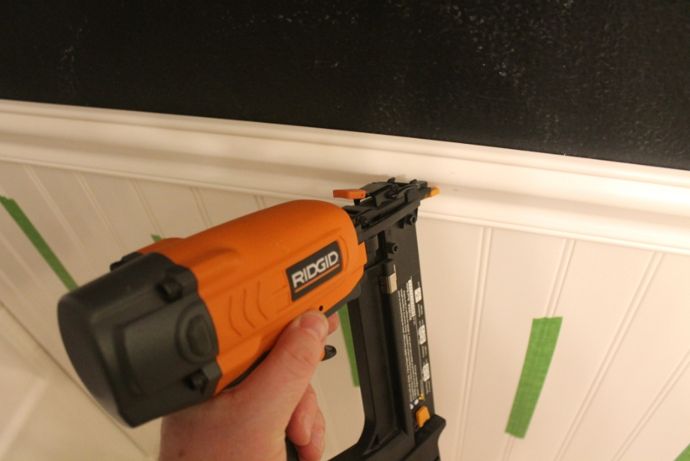
Then I just added the top molding and used my nail gun again.
I have to say the wainscot was easy to cut and quick to put up.
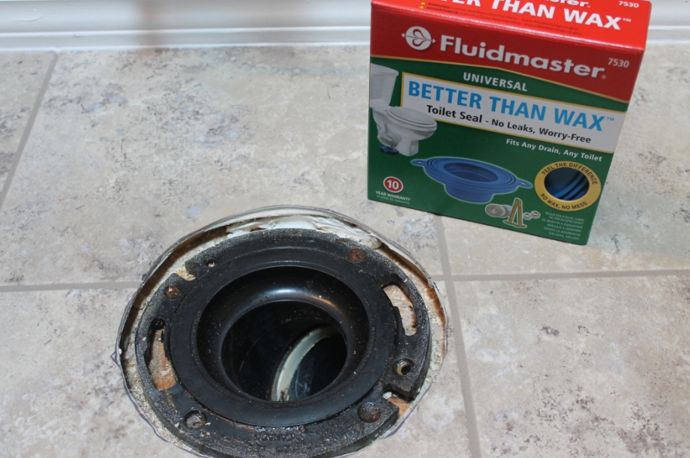
Re-installing the toilet
At this point I was ready to put the toilet back in. I went ahead and used another waxless ring as that is what we had previously installed (Although a different brand). I find the wax rings to be less messy and have had good luck so far. Here is the LINK if you want to read the reviews. The reviews are hit and miss. For me it worked with the included spacer.
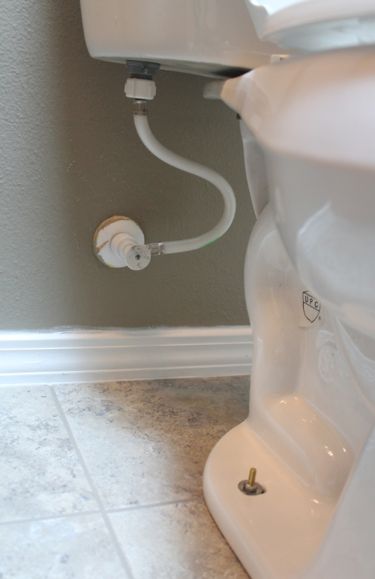
Once the toilet was in, I just had to hook up the water to it again. Then touch up the paint a little due to me deciding to add some caulk to the top of the molding as well to hide a gap.
Job Completed
Its a small room, but here is a final picture of it completed.
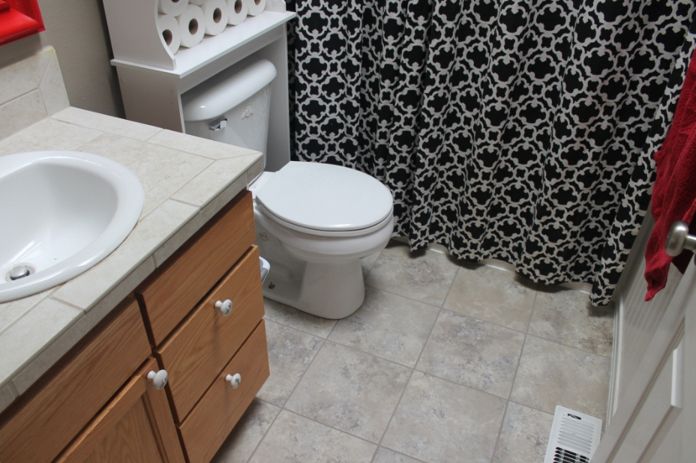
We still left the chalk board paint above the wainscot for the kids to draw on if they want.
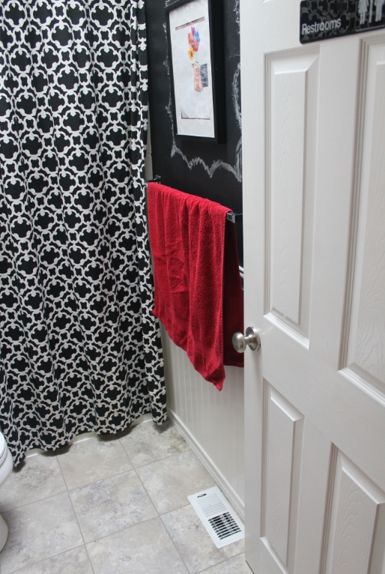
One more from the other angle.

Summary TrafficMaster Ceramica Cool Grey tiles
Well that’s it, I hope you enjoyed the post for the TrafficMaster Ceramica Cool Grey tiles. The tiles were purchased at Home Depot. I did have to remove my amazon links from the site so will try to find comparable Home depot links to add later. Also I tried to keep the post a single page, but had to split it into a couple page post as it had 39 pictures and loading them took a while.
Thanks for visiting my site! Please check out my Instagram if you want to see more pictures.
Pages: 1 2