DIY – Kitchen wall cabinet buffet.
The Project:
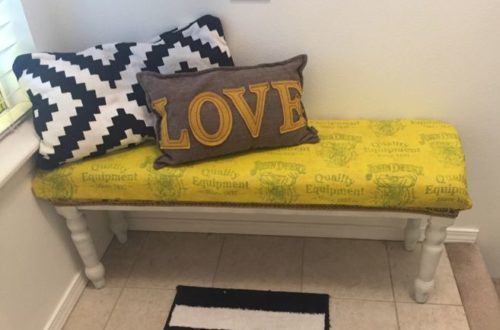
Here are some pictures of our new kitchen wall cabinets. We had added some 12″ cabinets to the upper wall, but decided we wanted to add some 12″ cabinets to the floor as well and make a buffet. One of the problems we found is that the standard 12″ cabinets from Lowes and Home Depot do not have a base on them. So we decided to buy them anyways and just add our own base.
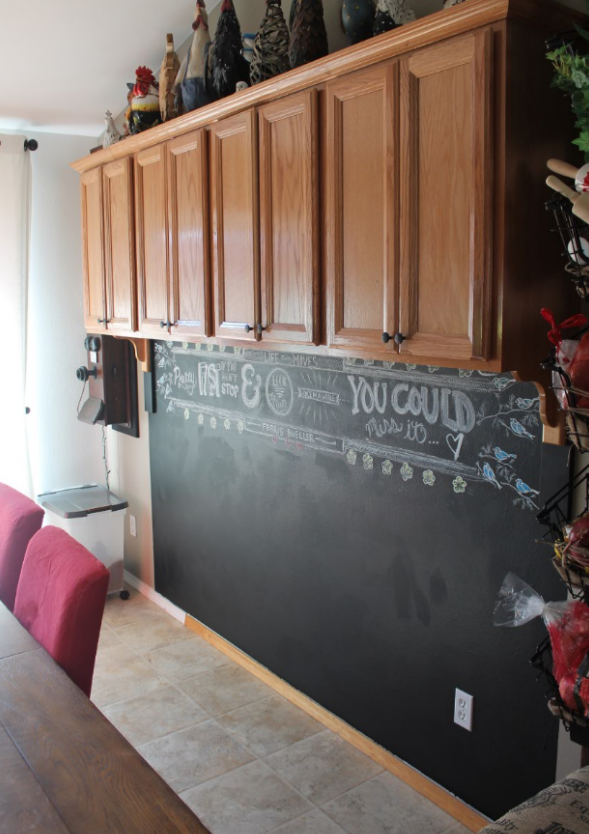
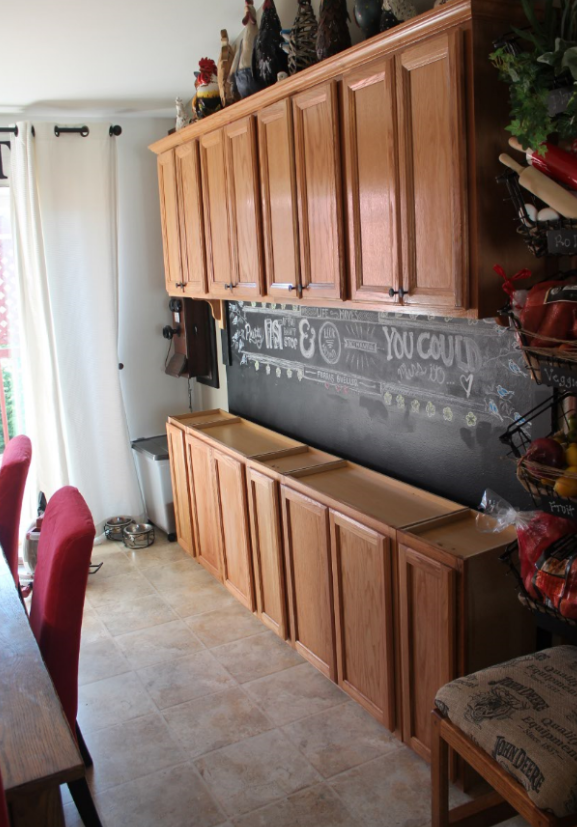
Here is the starting point. You can see the existing 12″ cabinets on the wall. We wanted a 12″ buffet against the wall below it.
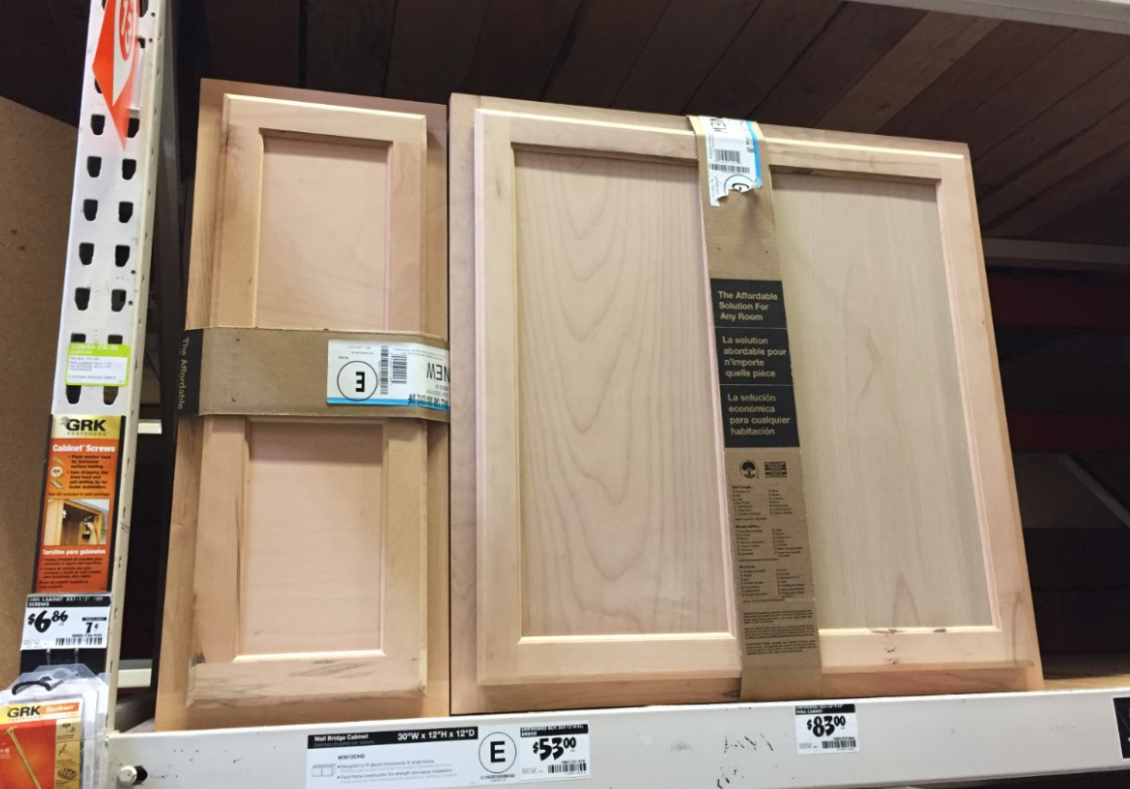
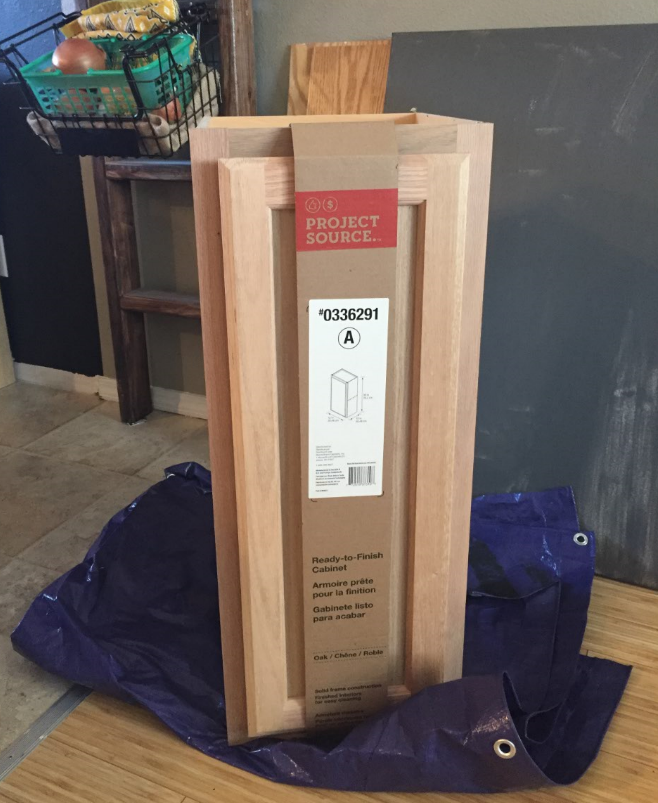
Quick trip to home Depot and Lowes and we found that all of the unfinished 12″ cabinets did not have a base, they were meant to be hung on the wall. This is where we decided to just get them and build our own base.
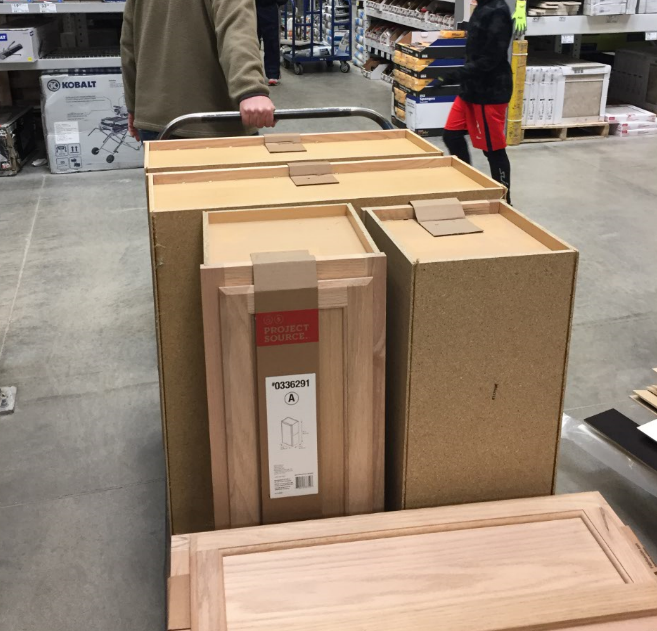
So we loaded the cabinets up and headed home. We bought 2qty 30″ wide and 3qty 12″ wide.
Now that they were home, we were ready to put on a quick coat of stain.
Here you can see I started staining them. I used MinWax Colonial Maple 223.
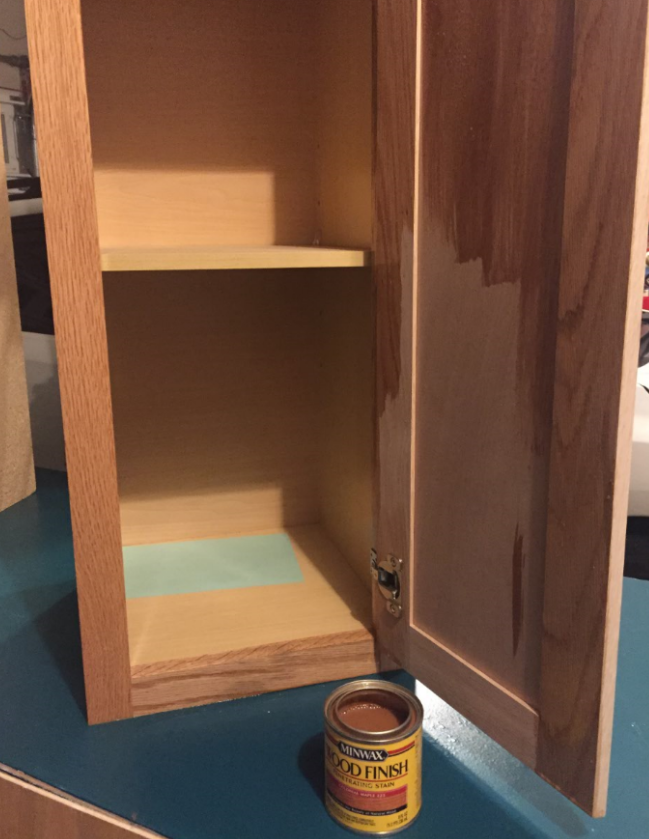
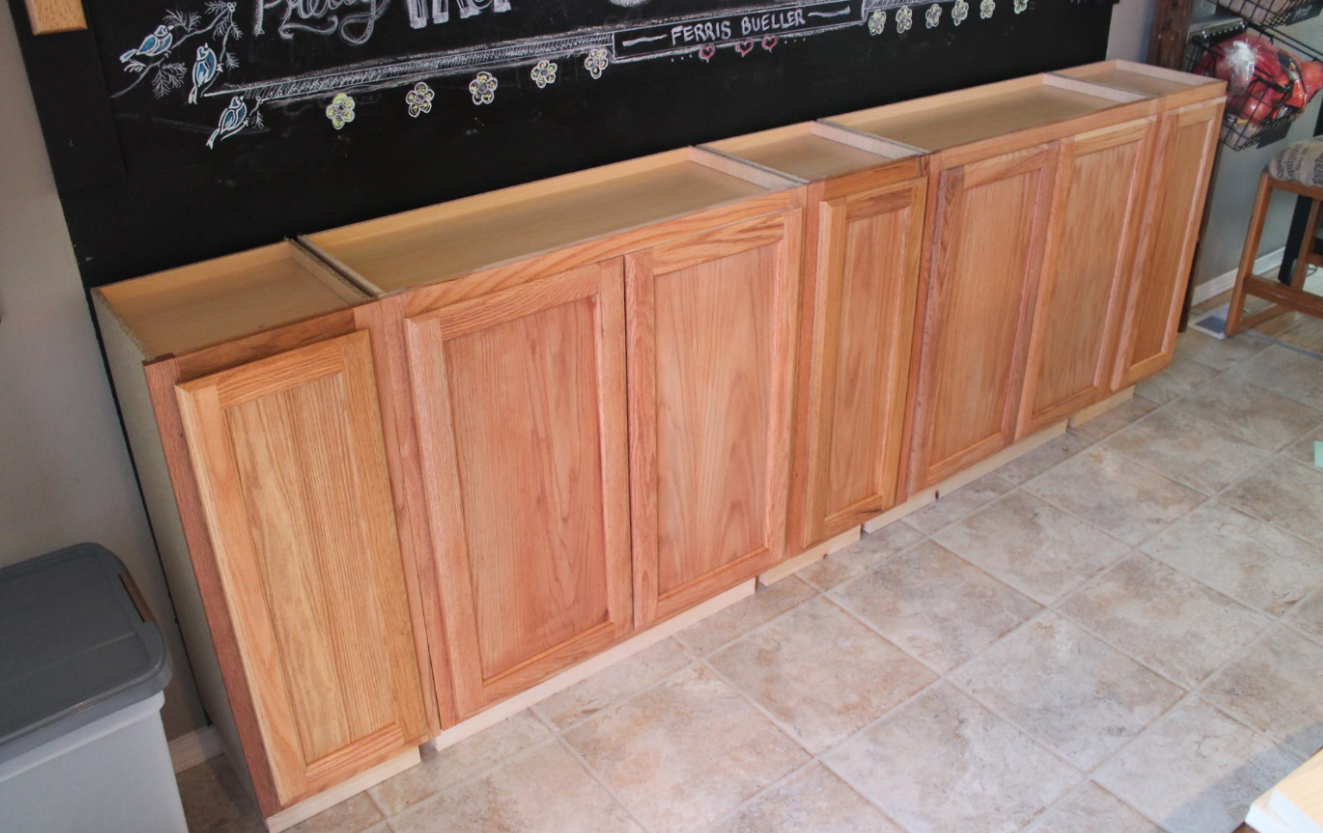
Here is a picture of the cabinets with a light coat of stain. You can see how short they are when they are sitting against the wall. Now I need to get the base built.
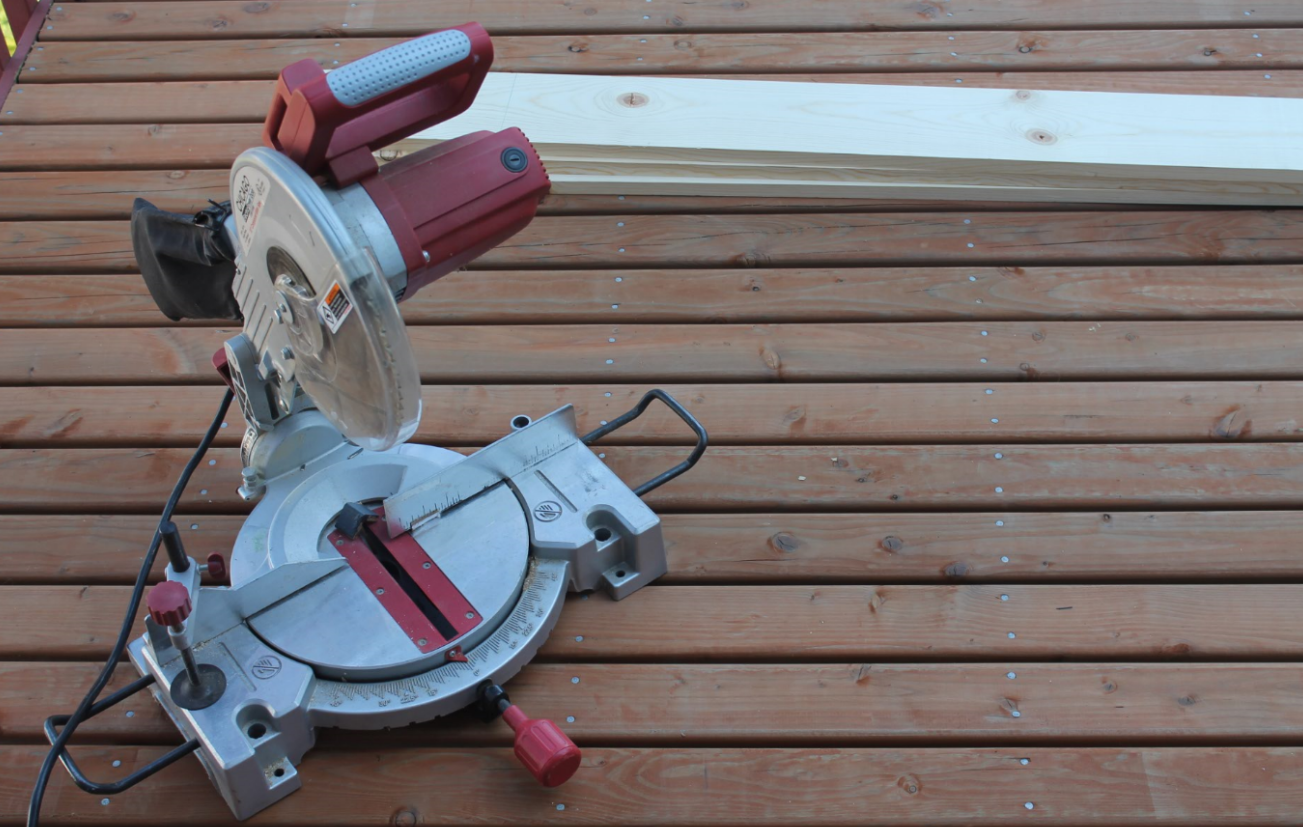
To start the base, I just used a skill saw to cut some wood for the base. I think I had to go with 1″ x 6″ as I did not see any 1″ x 5″ boards available.
I started cutting the base boards and put one on each end of a cabinet. For the 30″ cabinets I also put a brace in the middle.
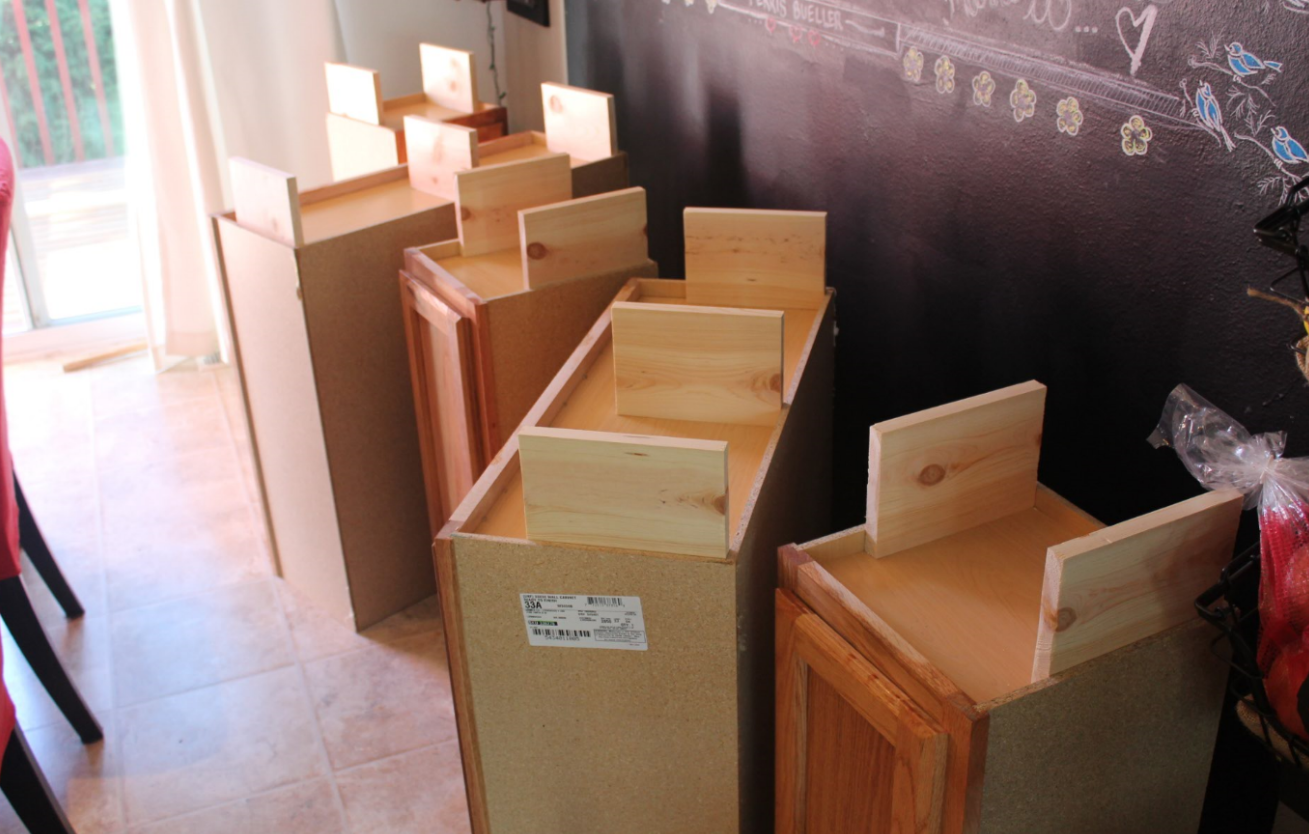
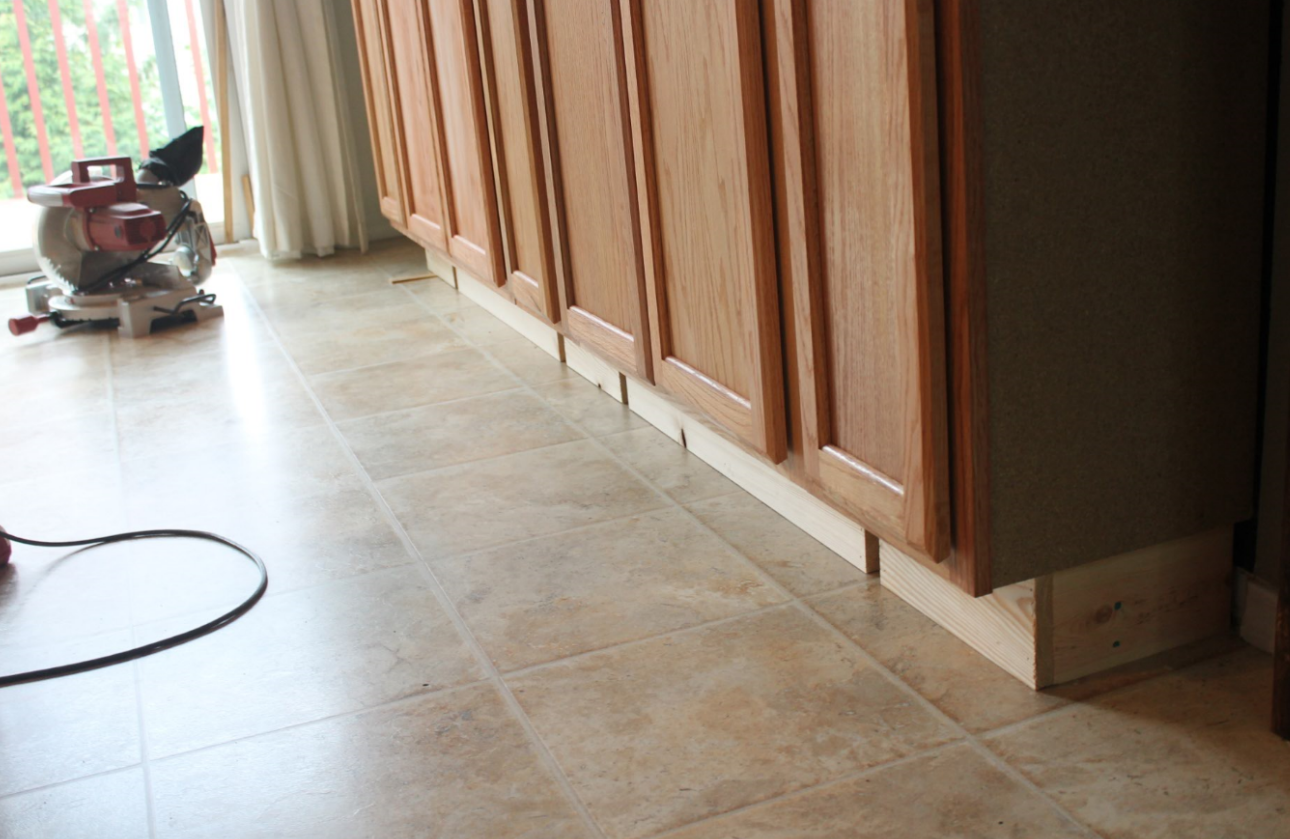
Then I added a kickboard to the front. I plan to use another finishing board to cover it all up as there will be a gap between cabinets.
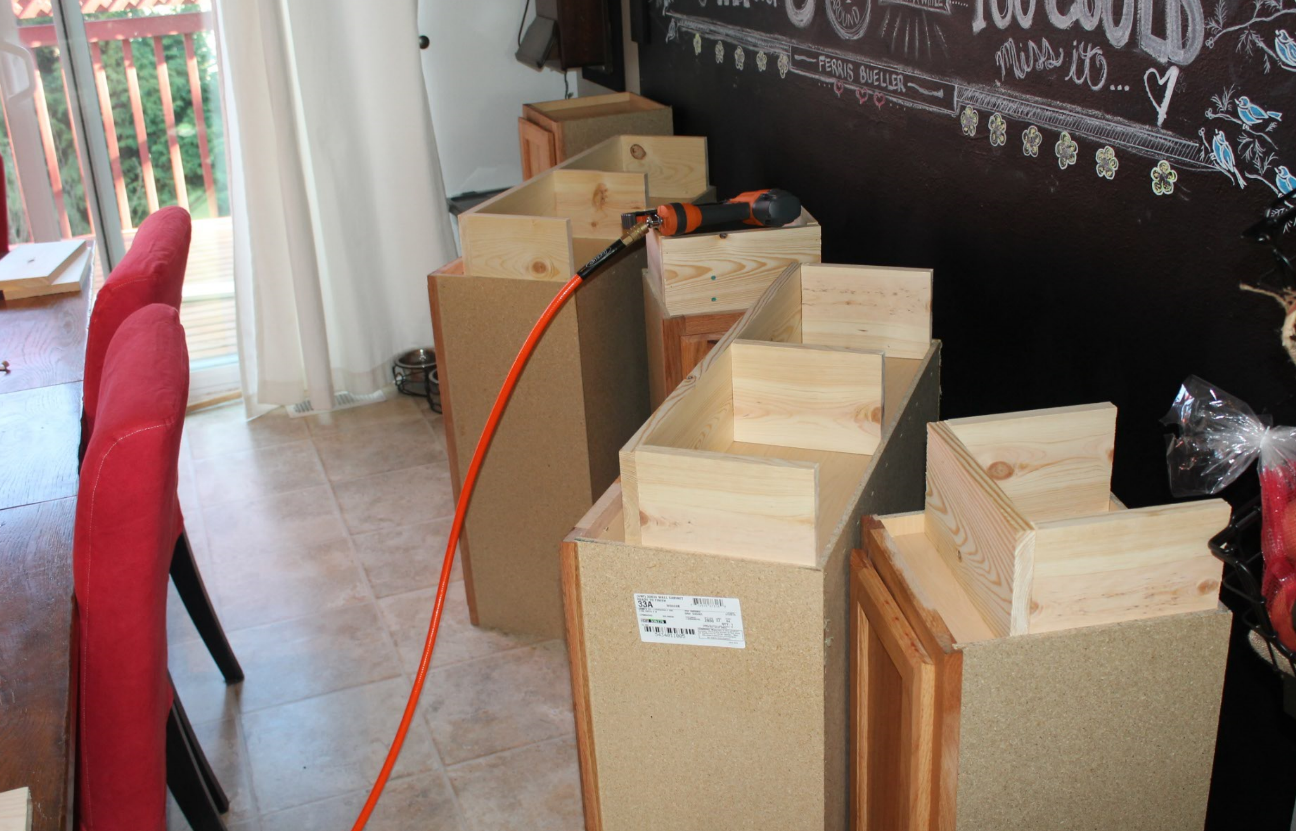
Just a close-up picture of the front boards. I used my brad nail gun to put the boards on.
You can see the height is much better with the base boards attached. Now I just need a counter top.
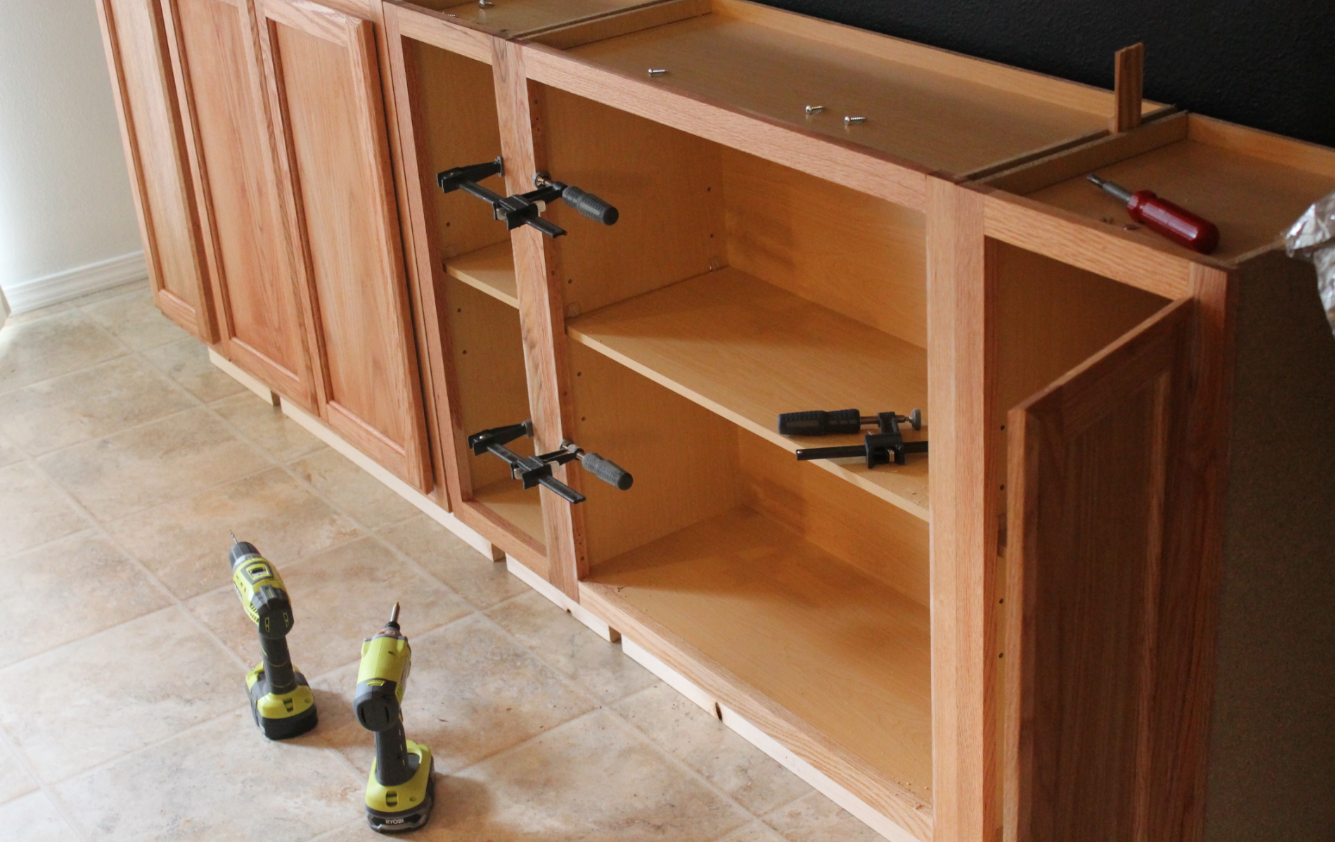
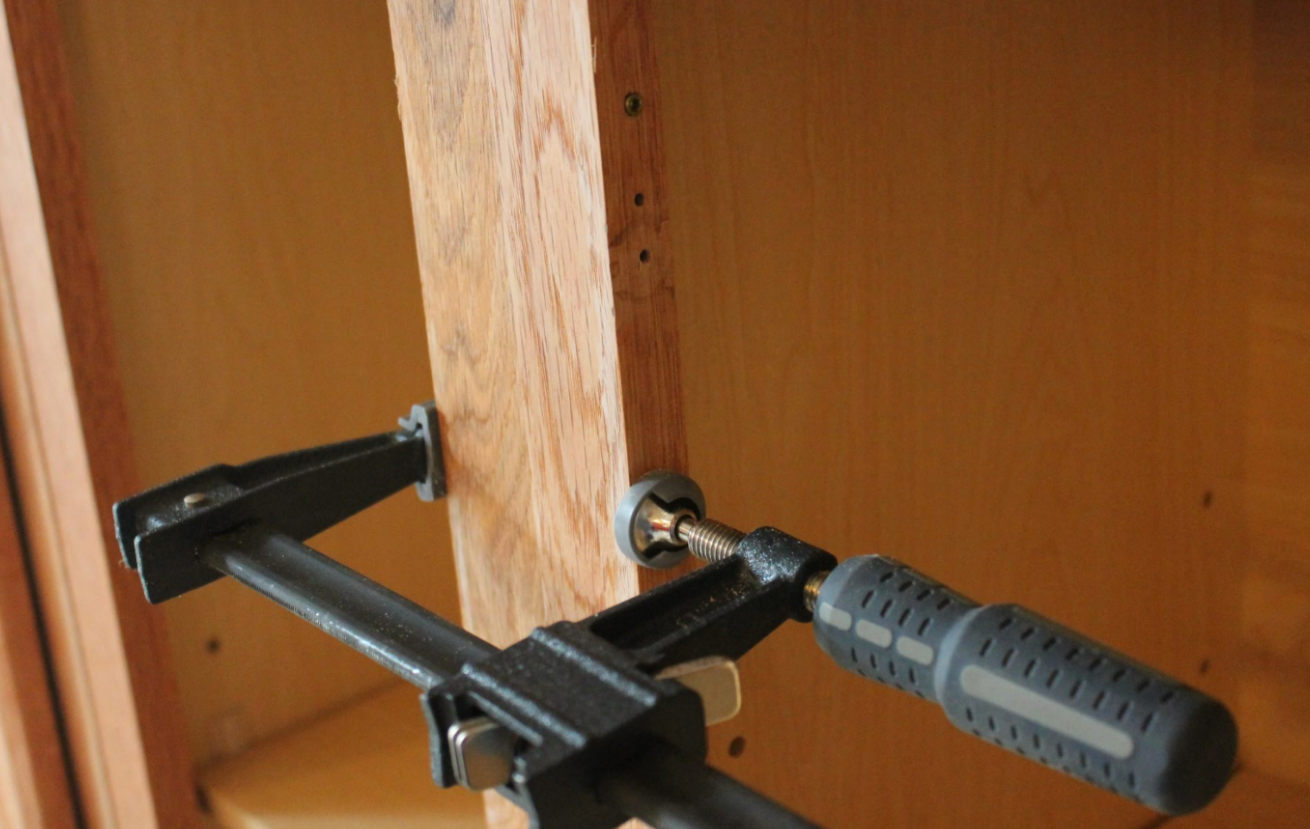
Next I anchored the cabinets together so they line up nice and even. I used clamps to hold them in place and then screwed them together.
I did not use any glue, I decided to just screw them together. I did drill a pilot hole first.
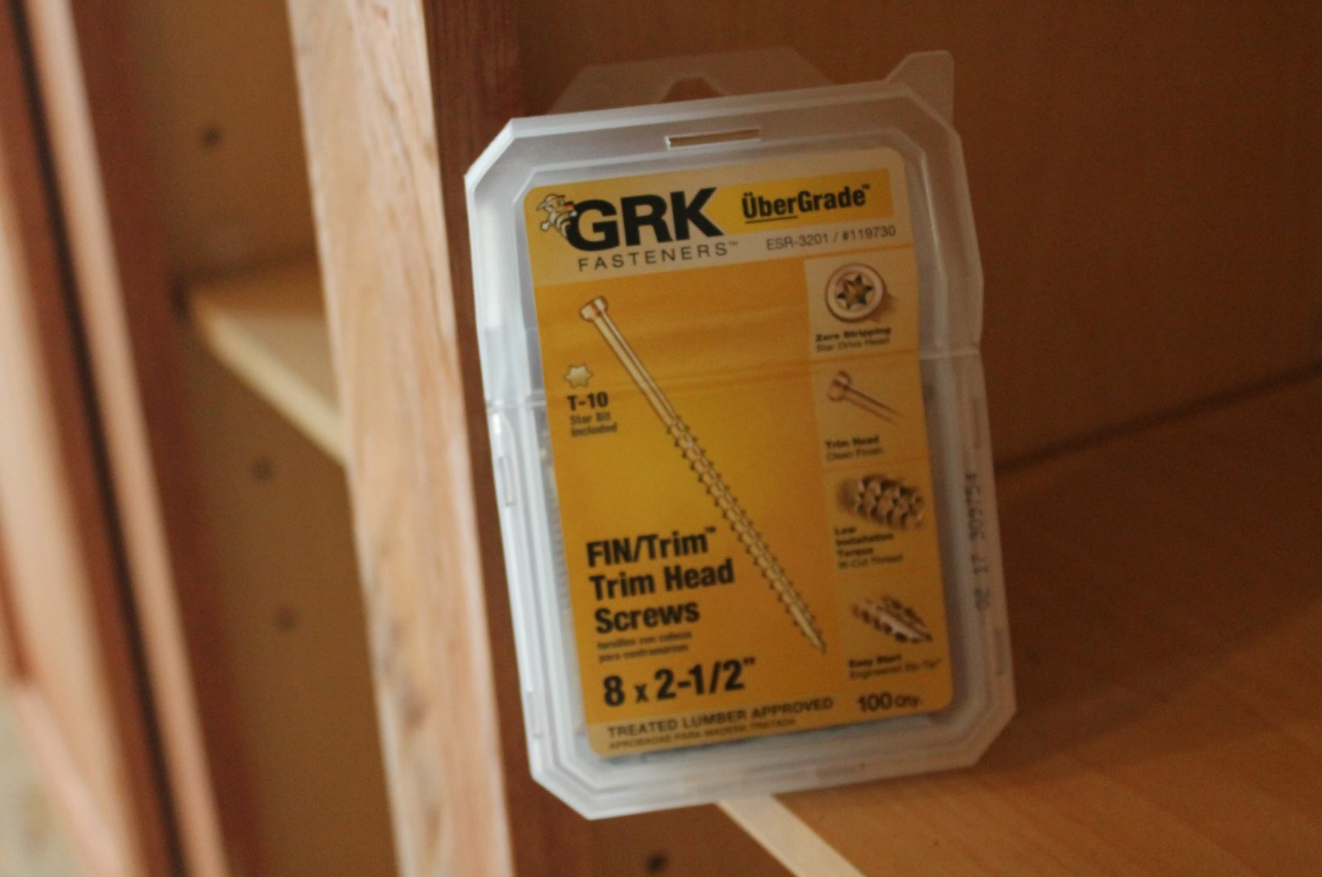
These are the screws I used in case you were wondering.
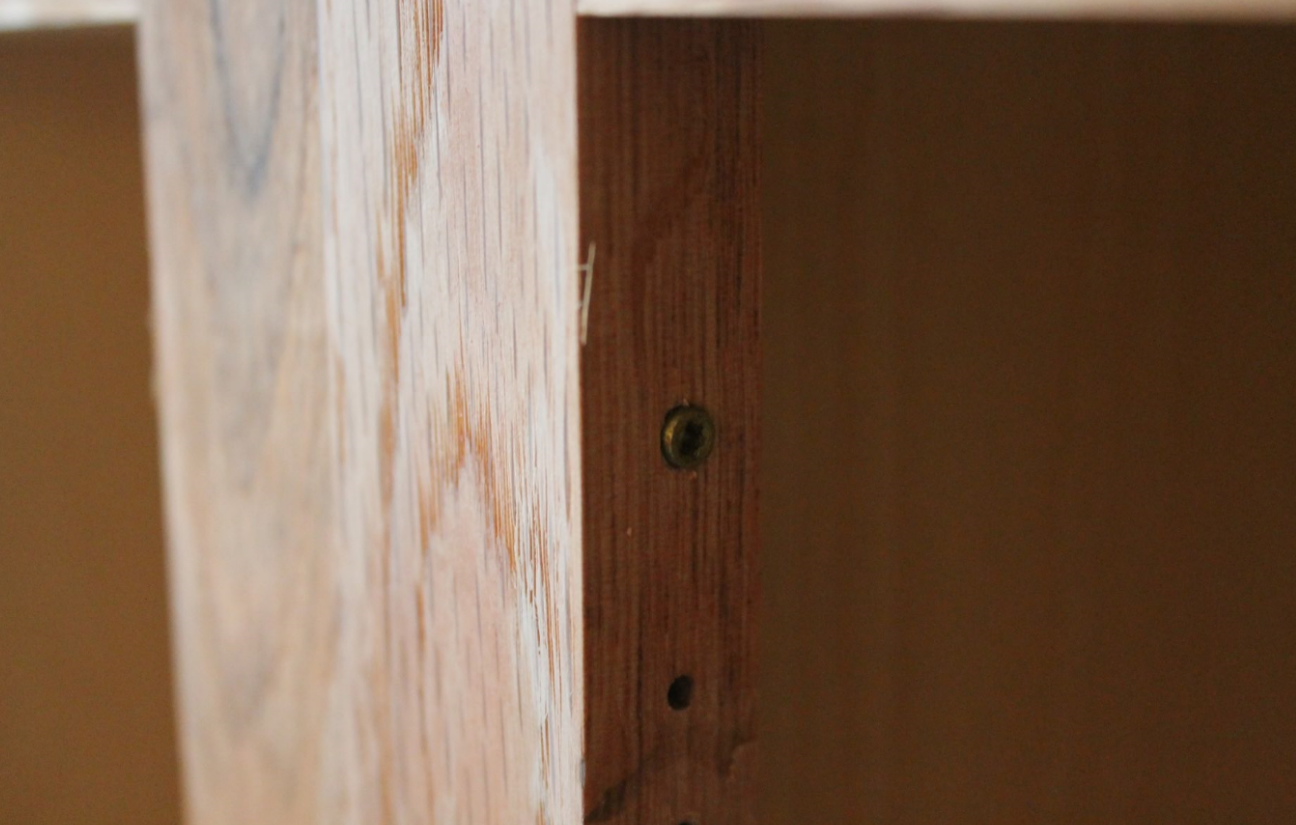
One down, many to go. I used 3 screws per side.
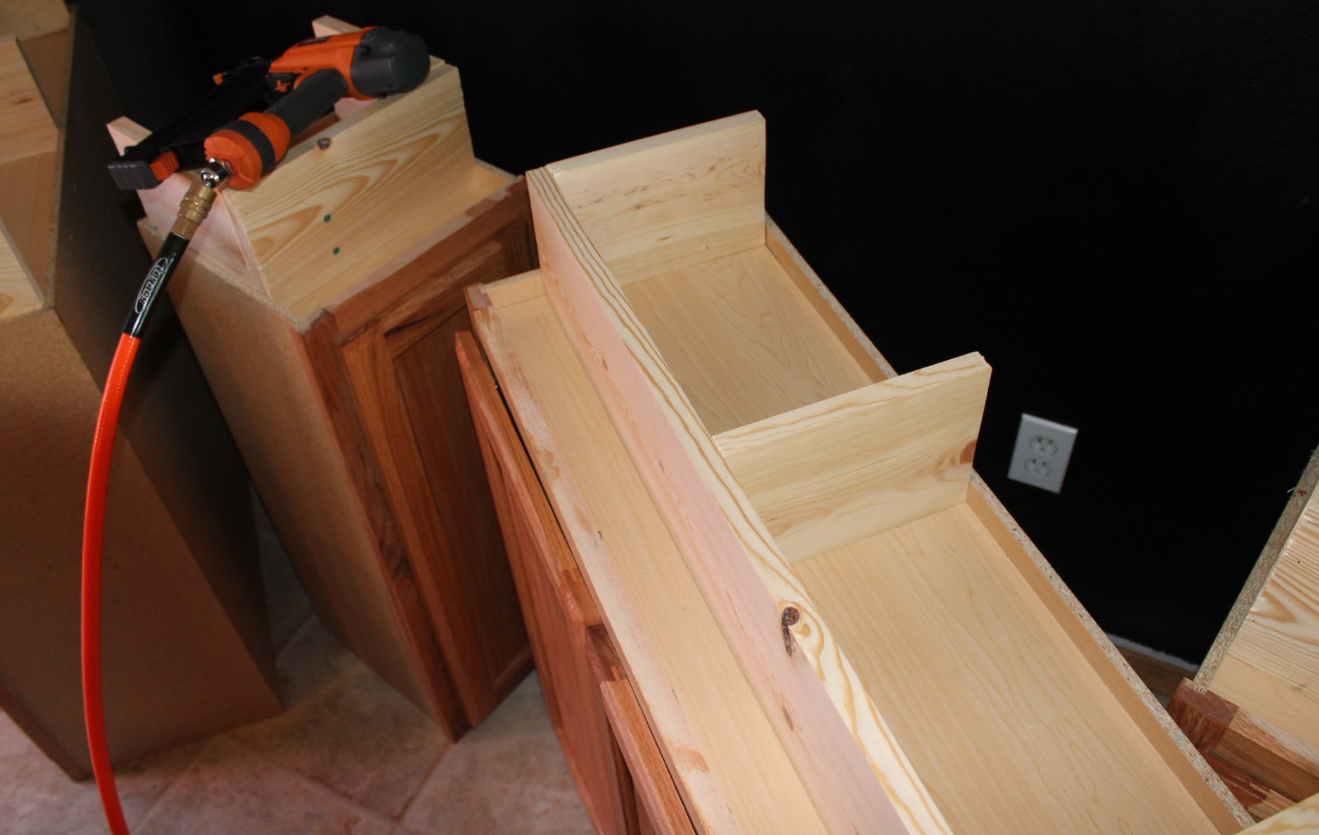
Here is a shot of all the cabinets attached.
Here is what the base looks like a little closer up. It is ready to be finished with a face plate.
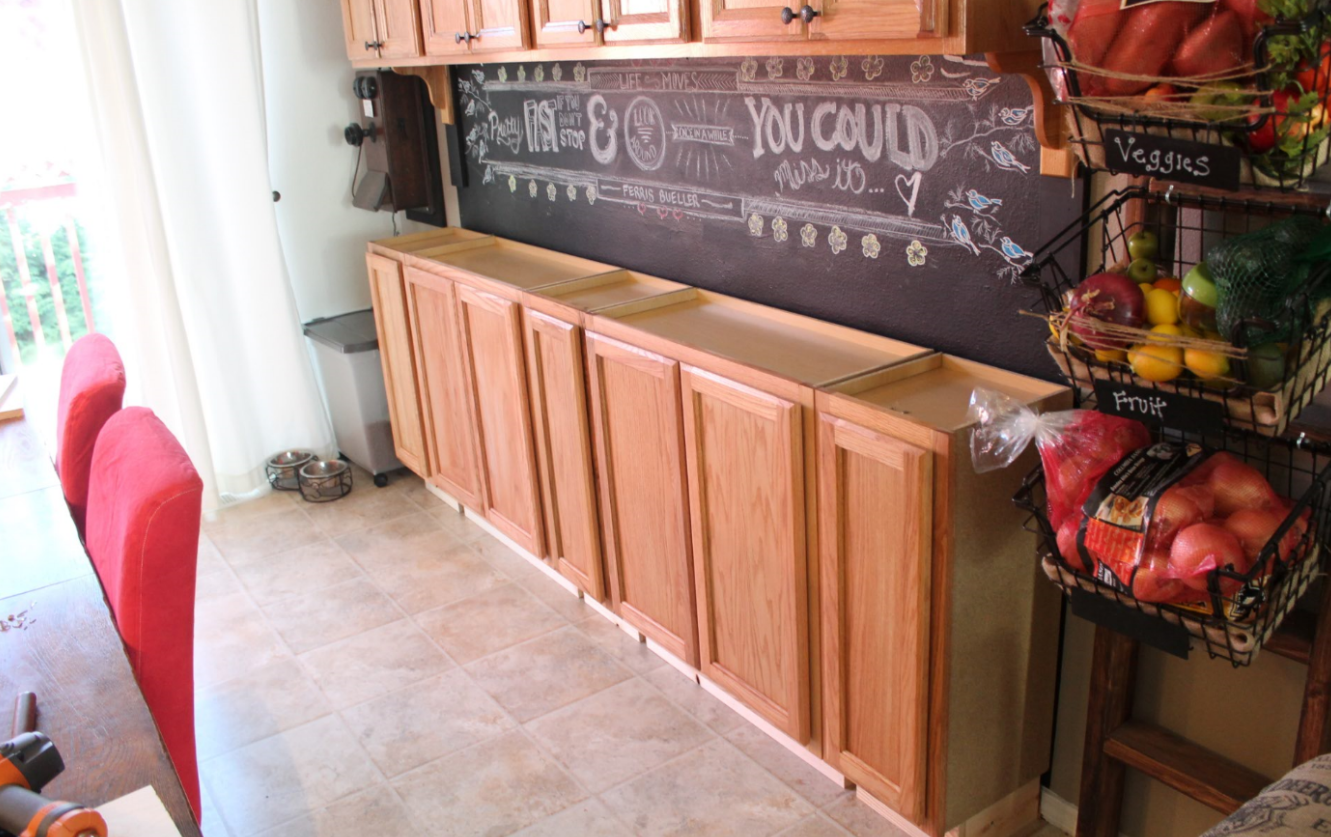
Now for the cabinet counter top, we just picked out a laminate top from Home Depot. I should have snapped a picture of it before I put it on. Basically it was way to wide, so I had to use the skill saw to narrow it to our requirements. I just drew a line down the countertop and cut it with the skill saw by hand as I do not own a table saw. It was really easy to cut. Here you can see it after I cut it.
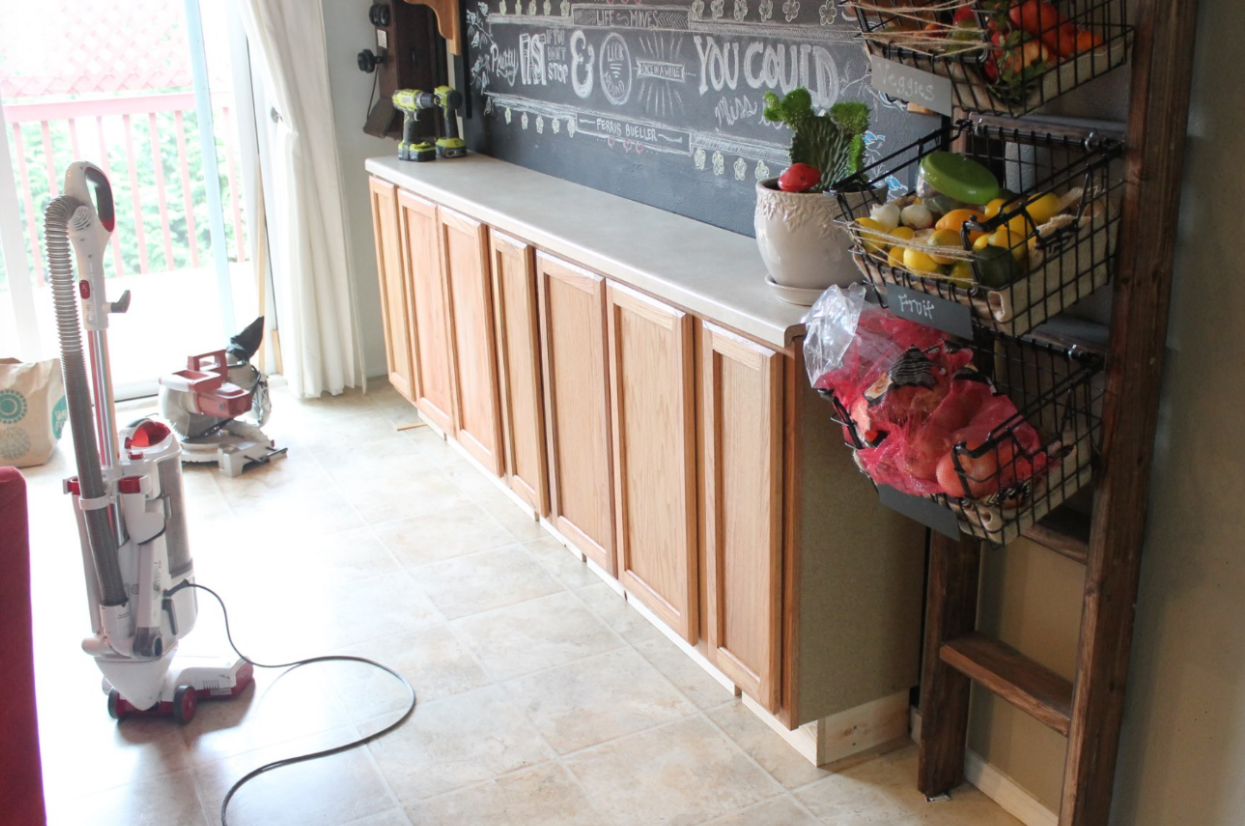
Now I need to do the kickboard and side faceplates. And also glue down the countertop. That will be coming next… .